All of the additional image/video files that aren’t presented in this blog post can be found here – https://mega.nz/#!R4BQSAwL!Q42ceguuZtv5Zgr8R5NkXYGRRCSl06ZCtCn5TP0-Y6g
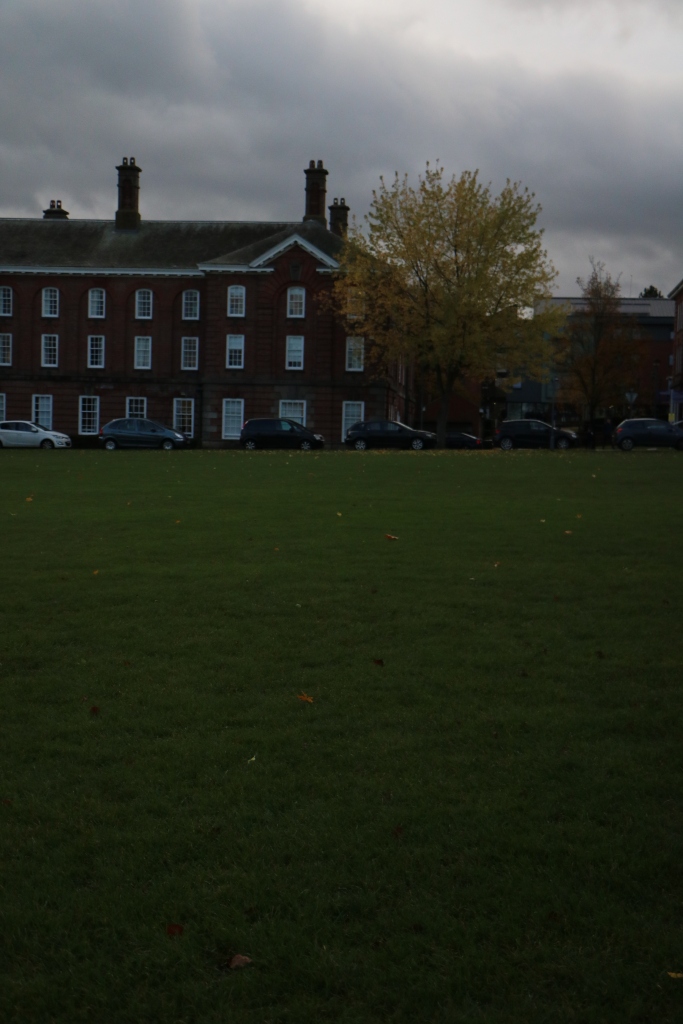
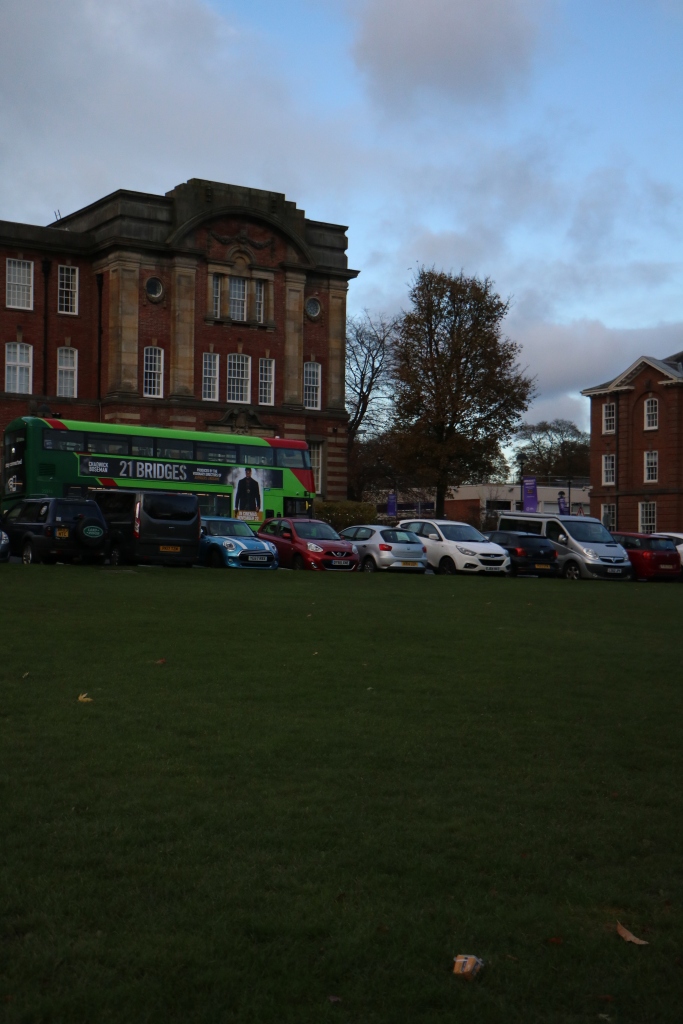
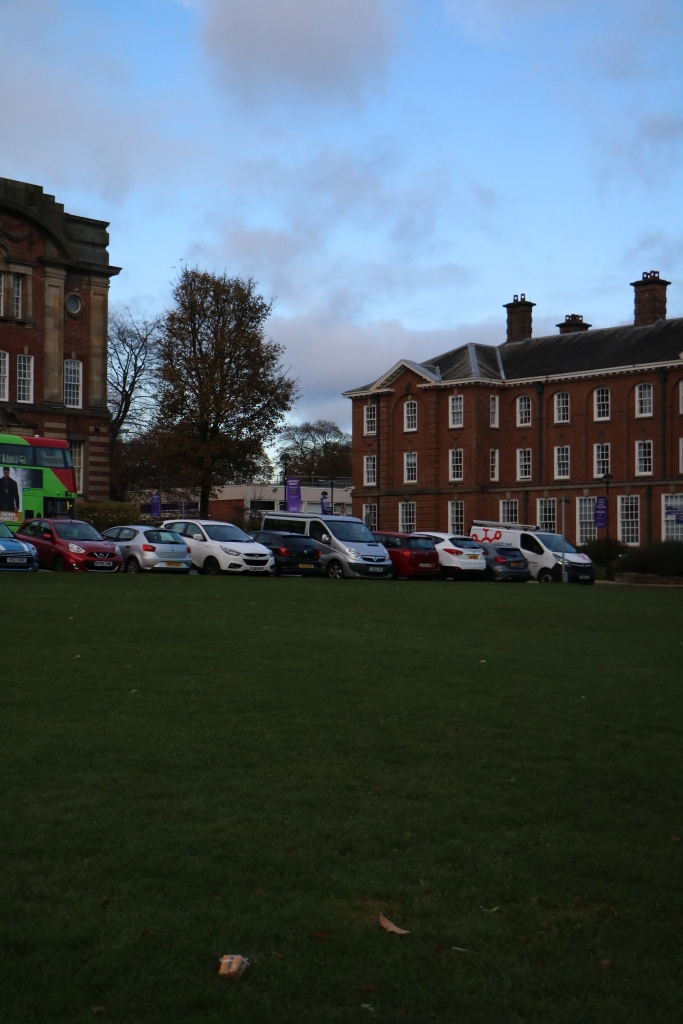
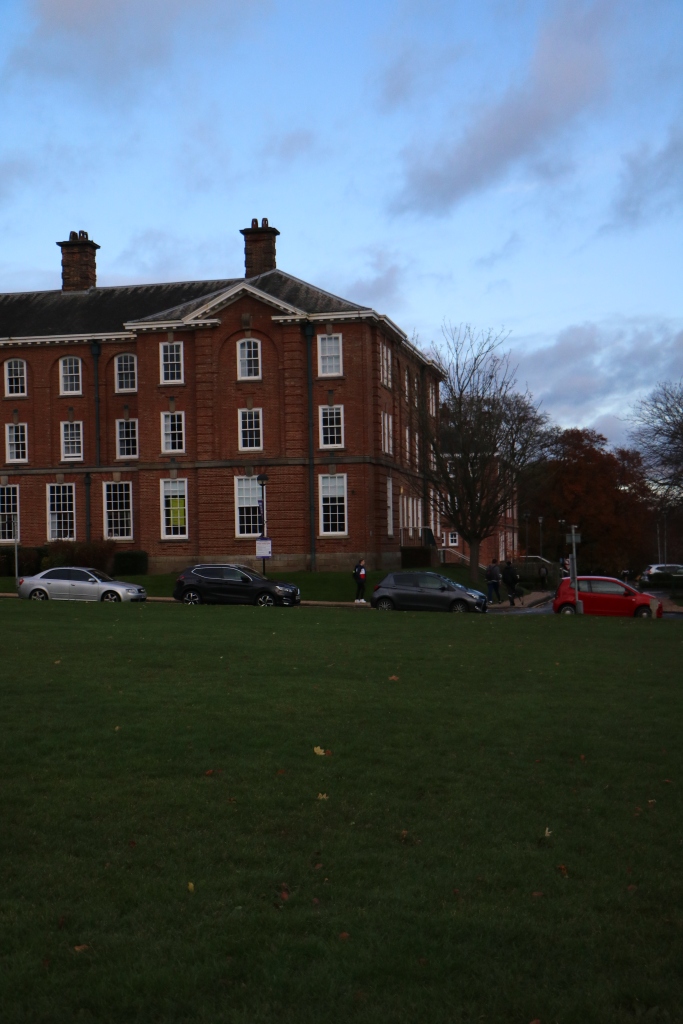
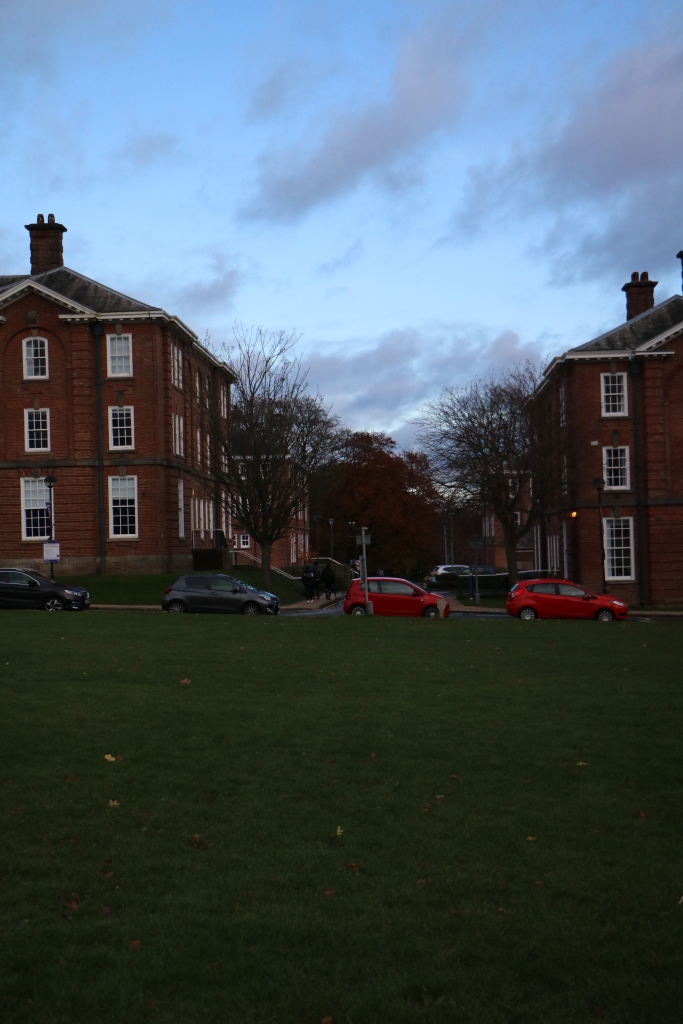
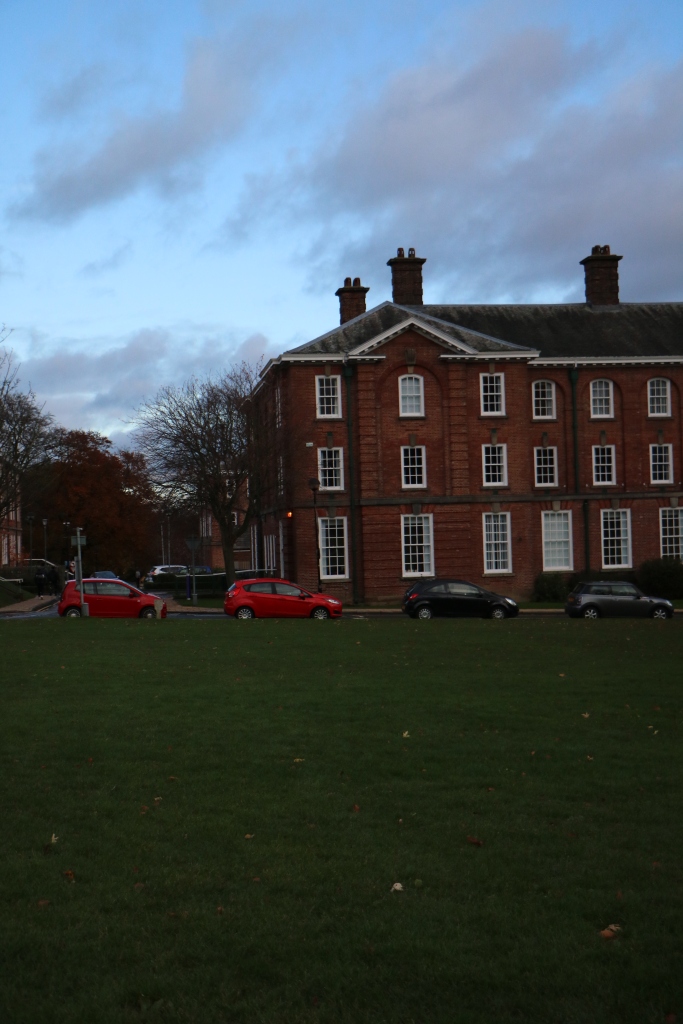
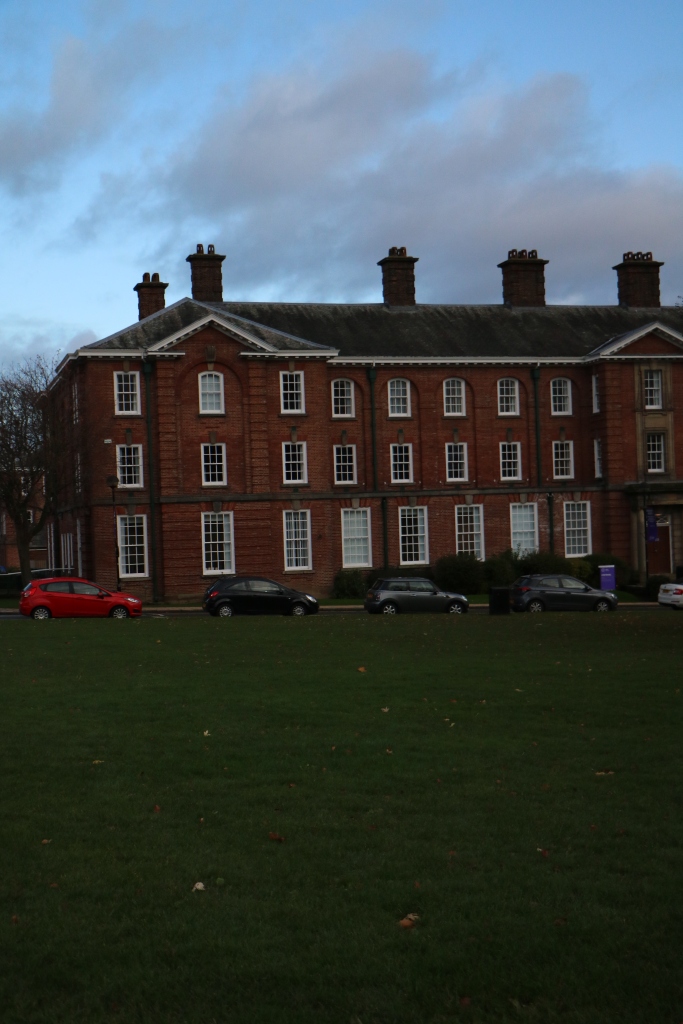
Task 1: Plate for Set Extension –
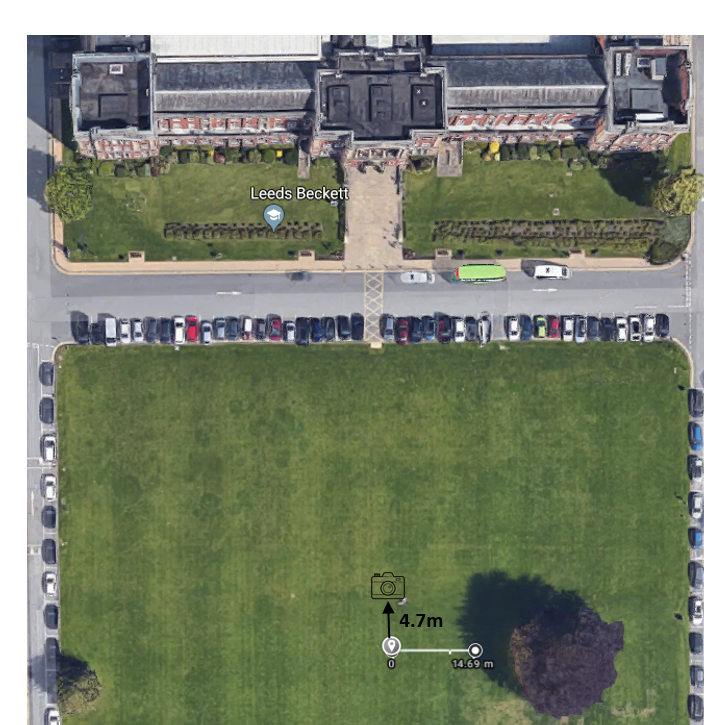
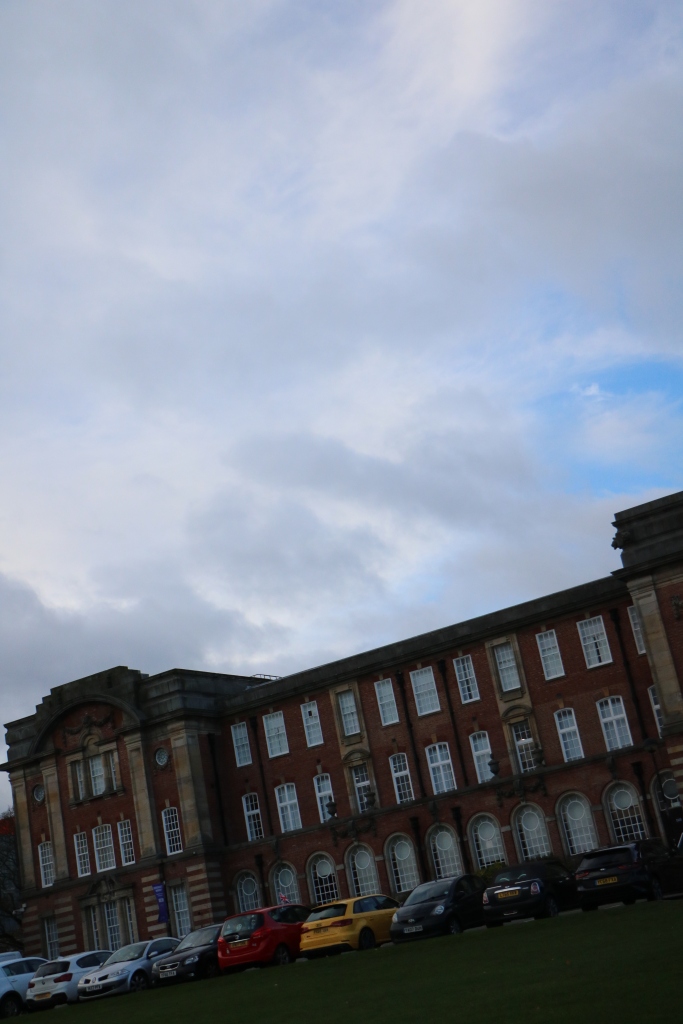
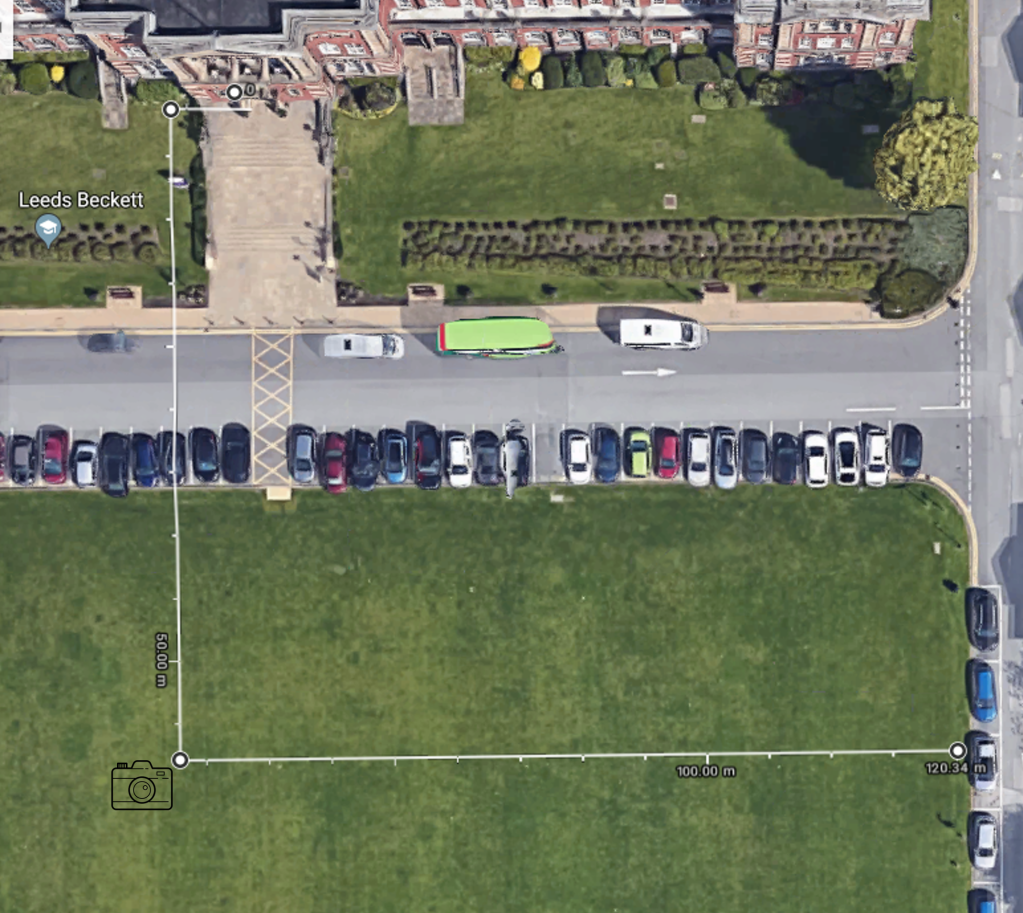
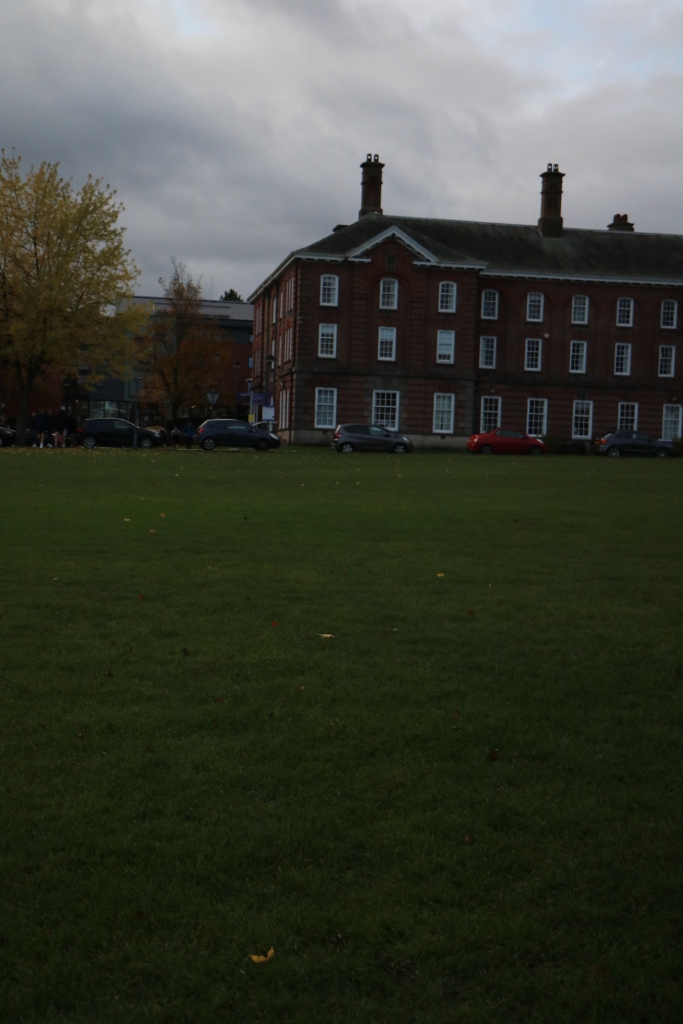
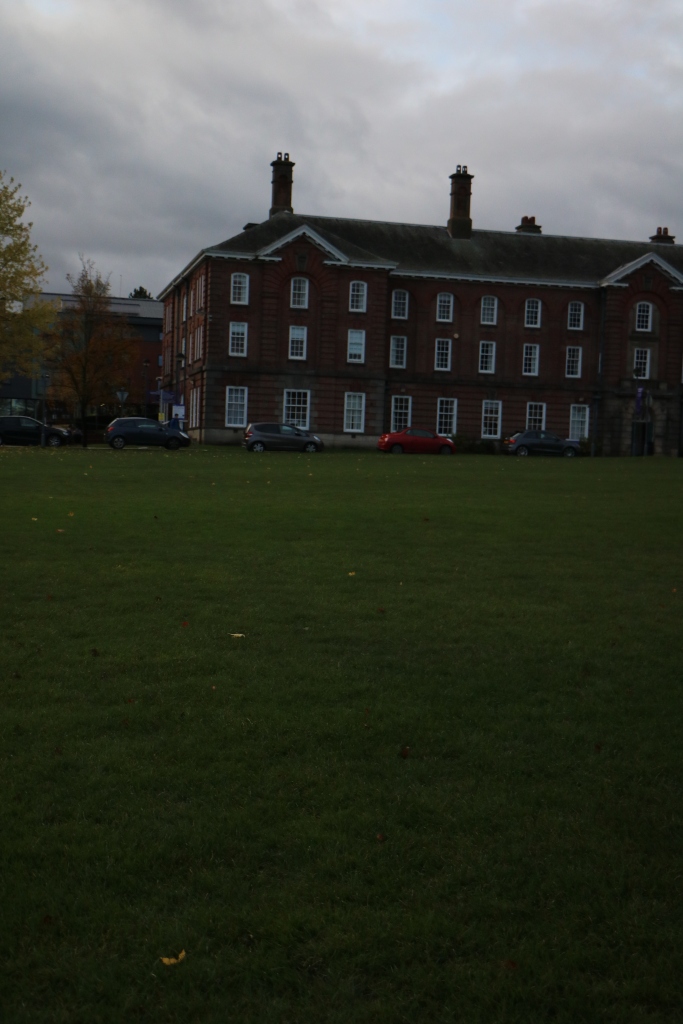
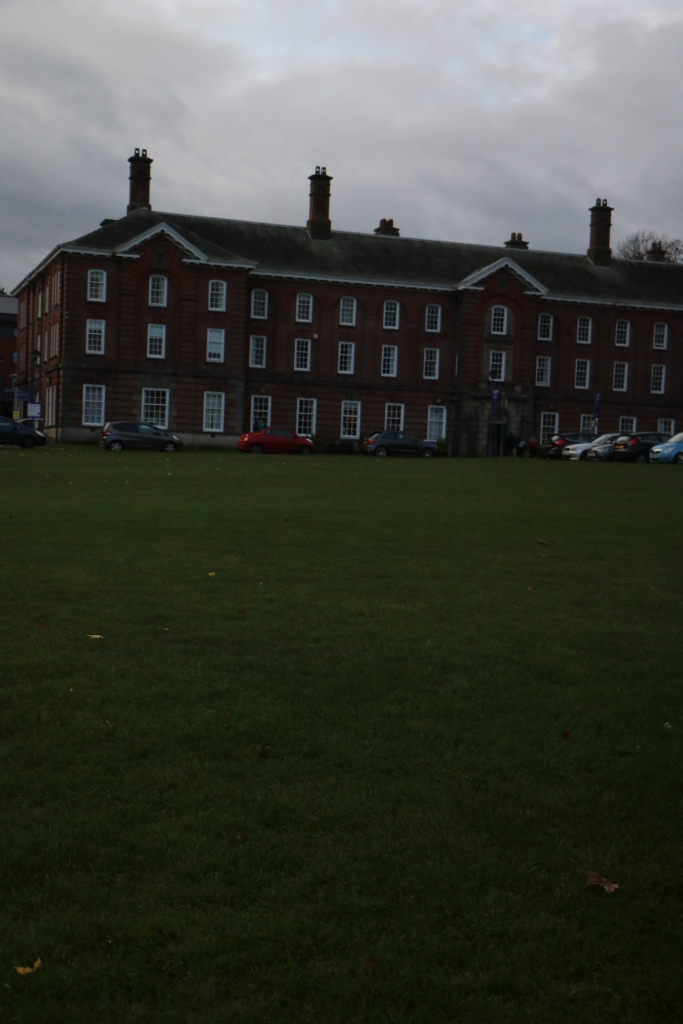
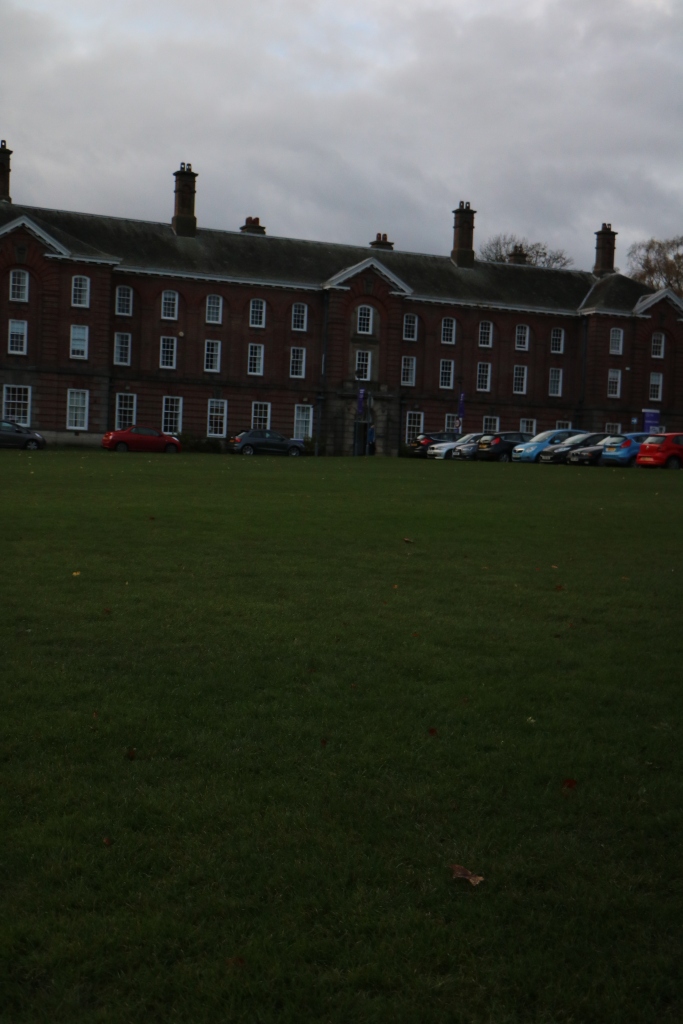
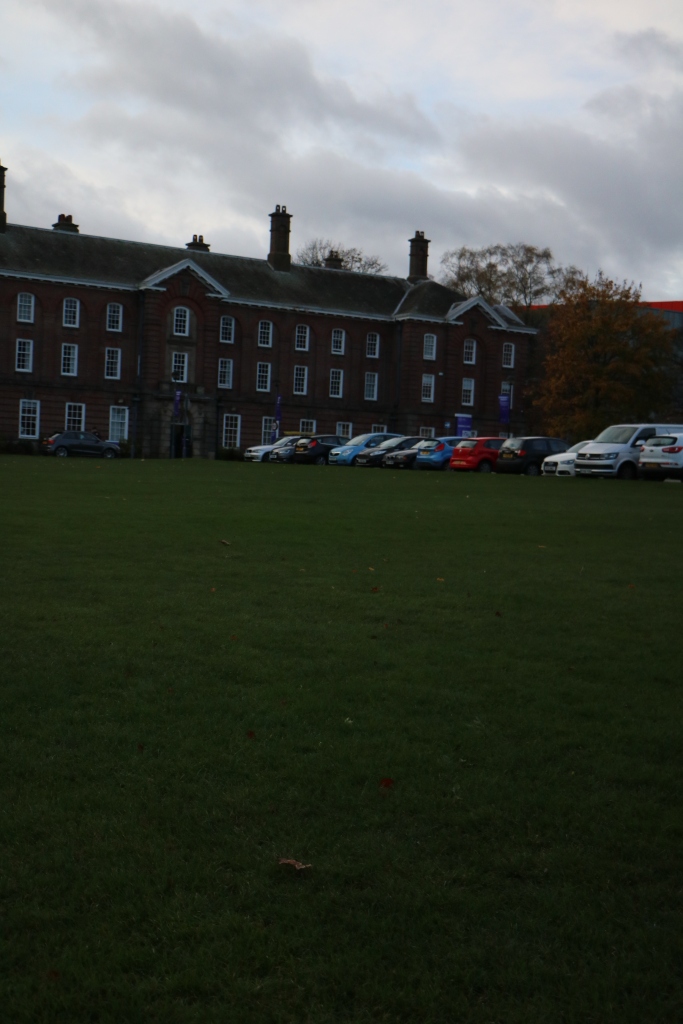
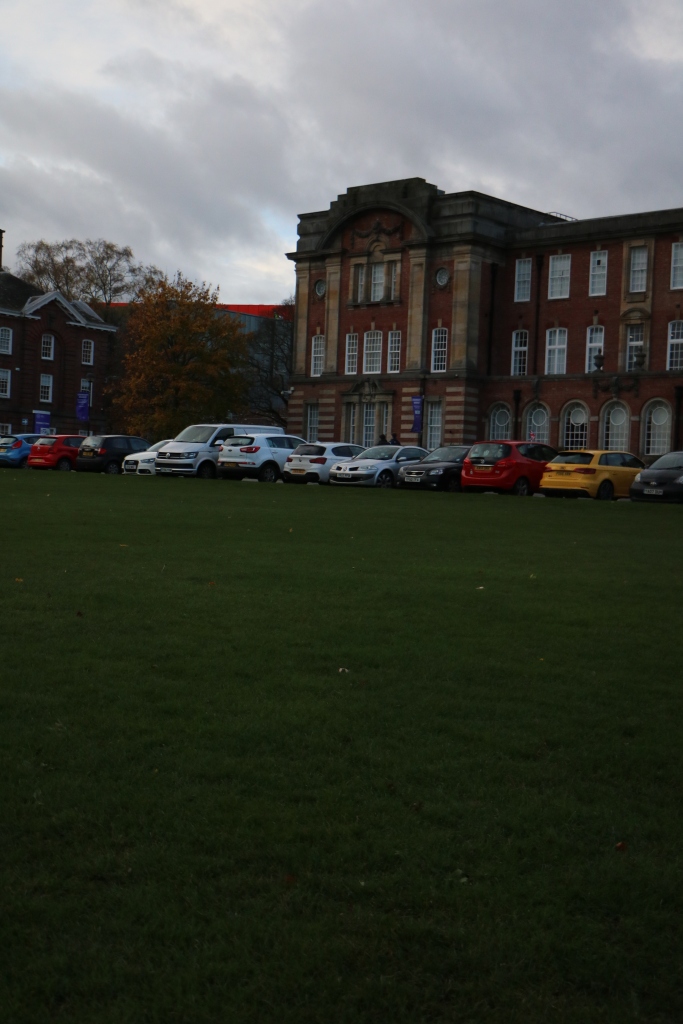
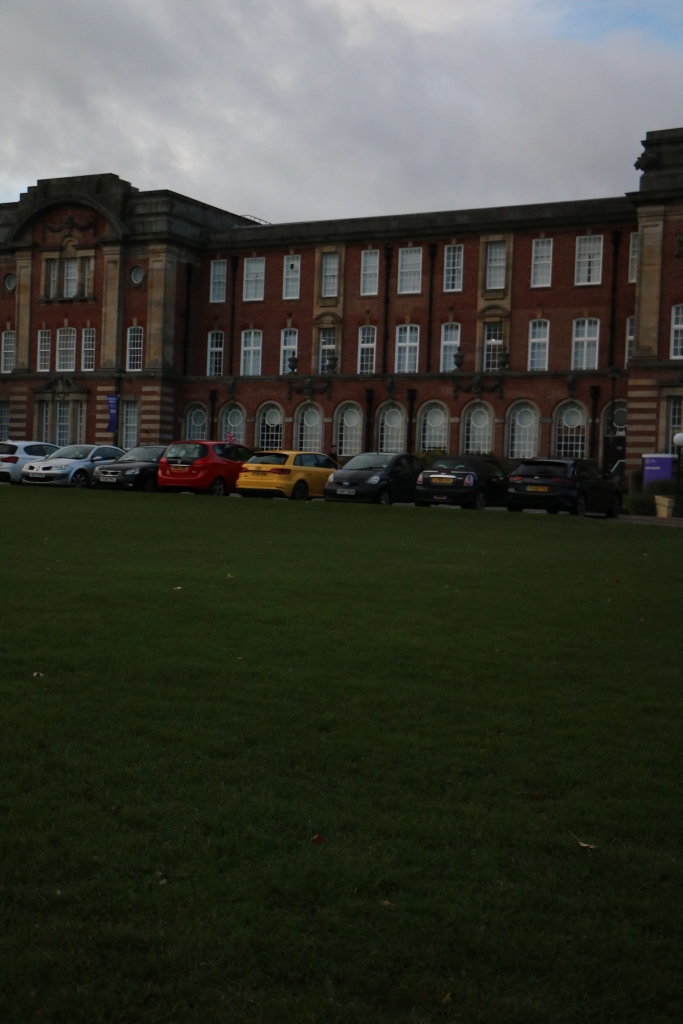
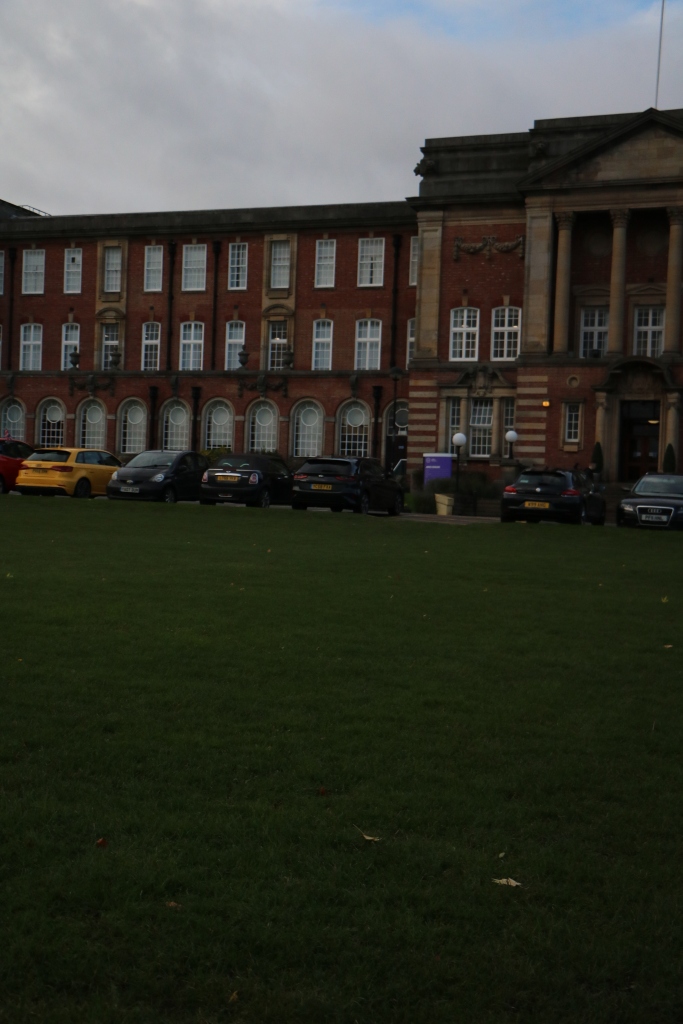
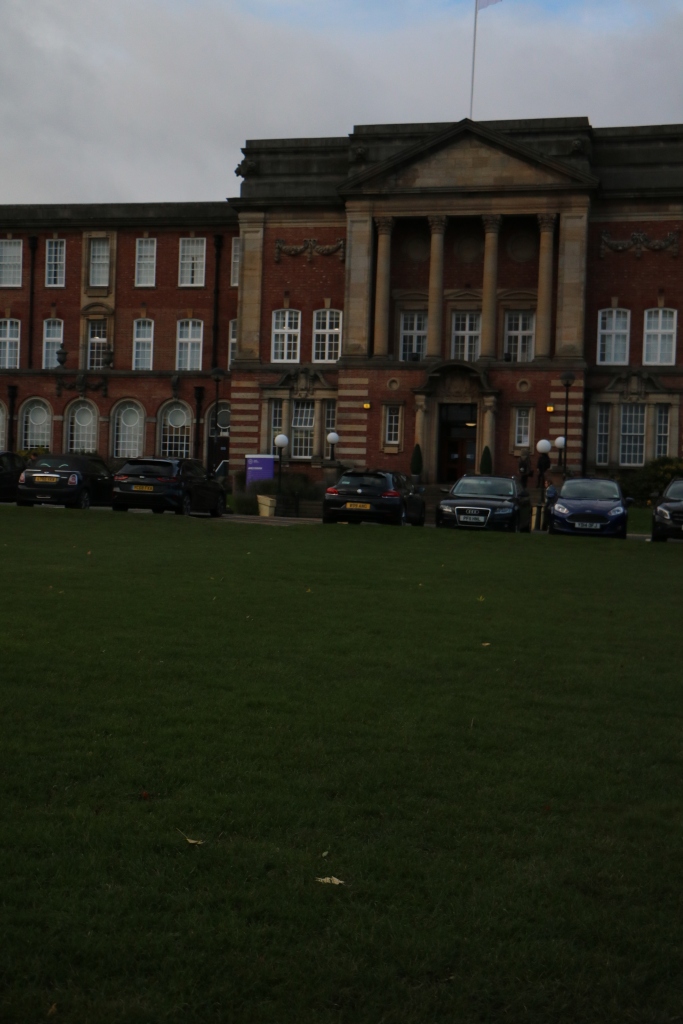
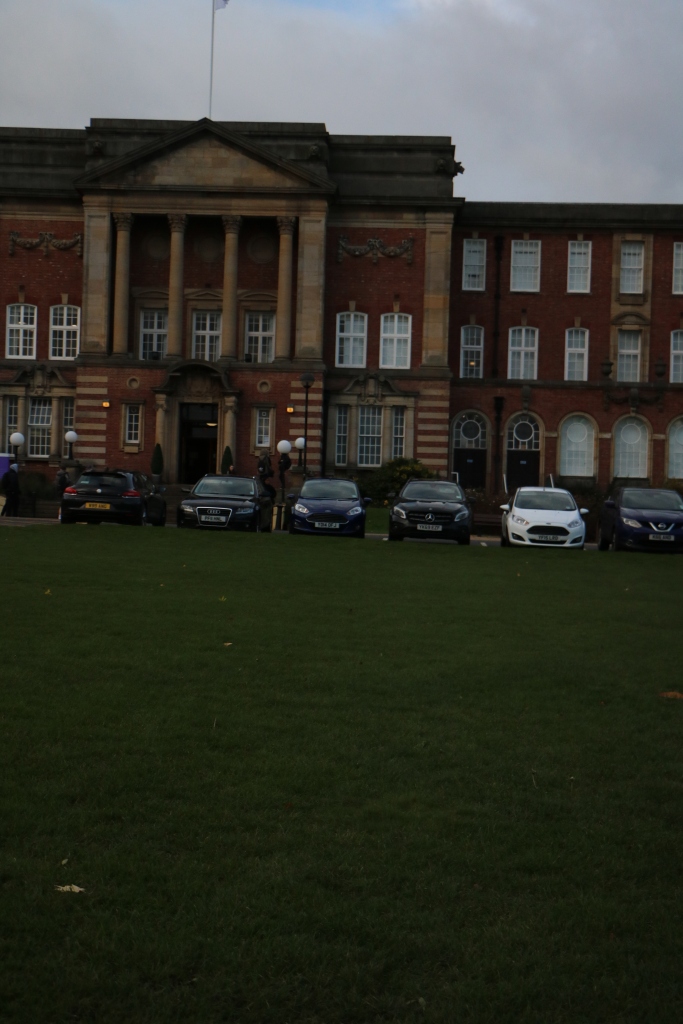
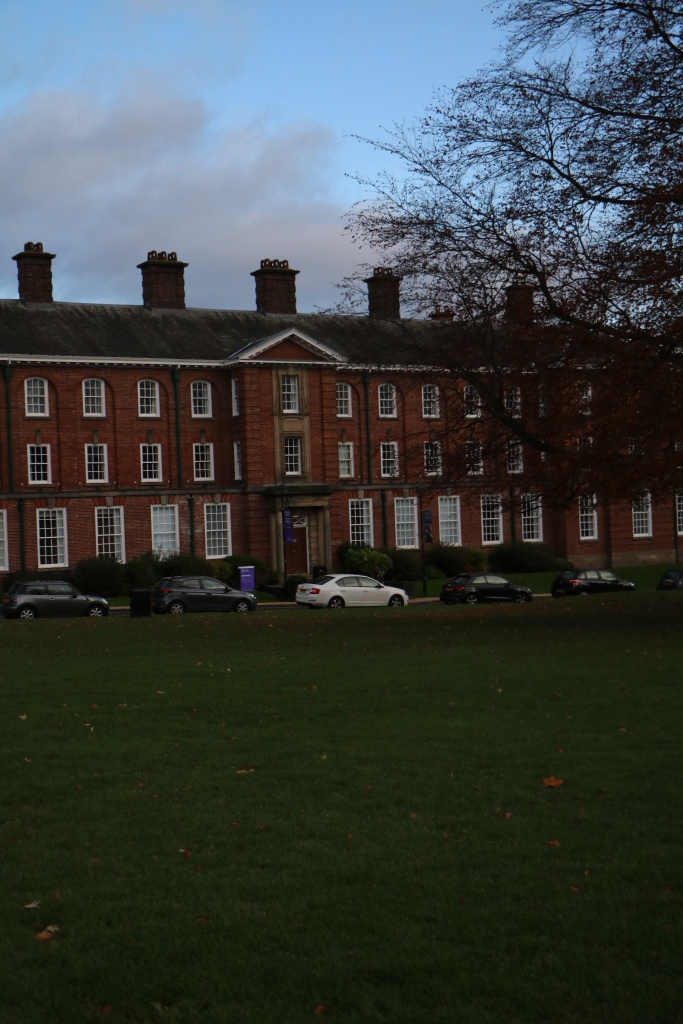
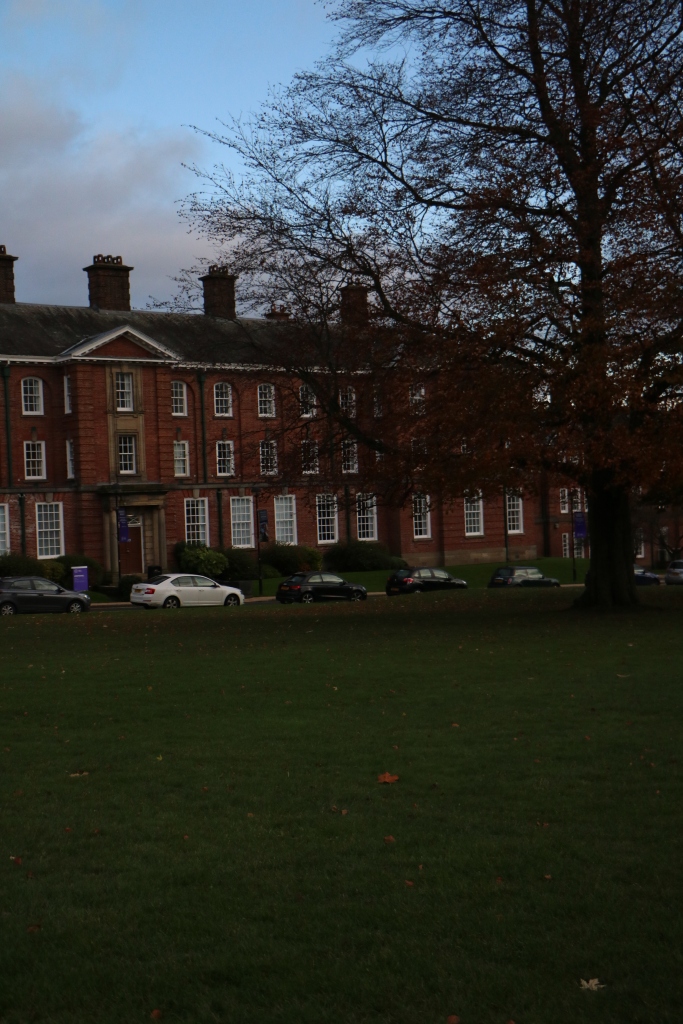
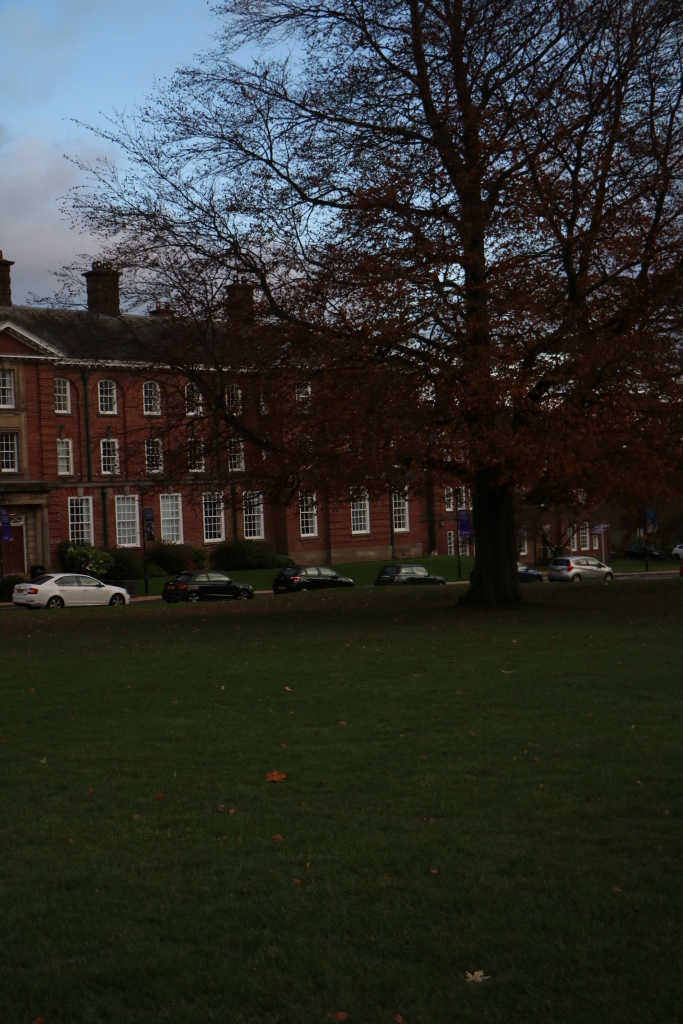
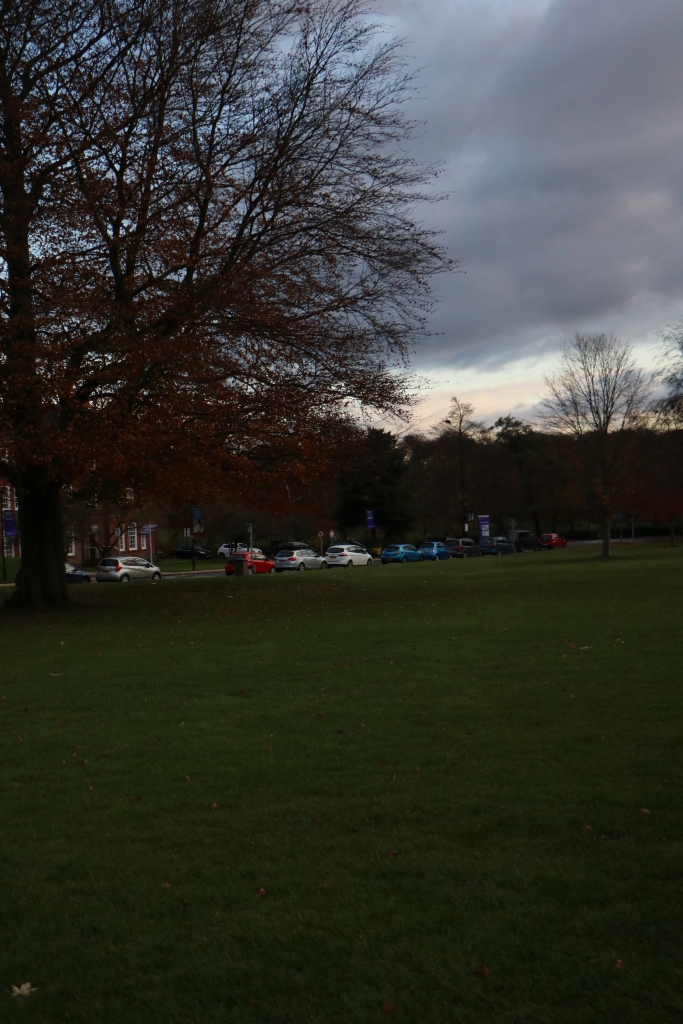
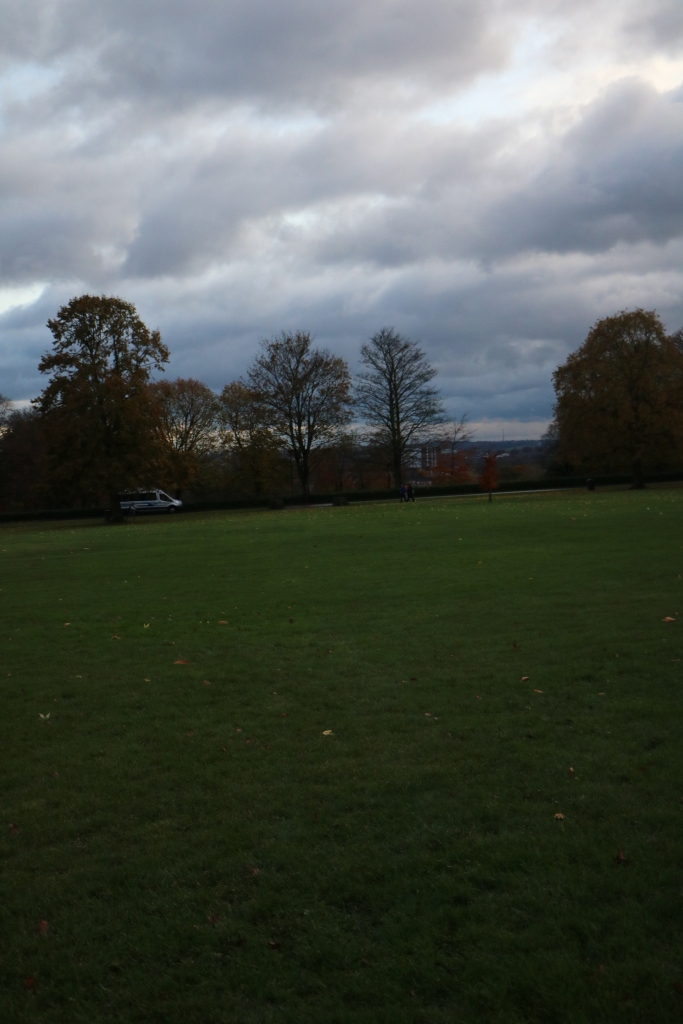
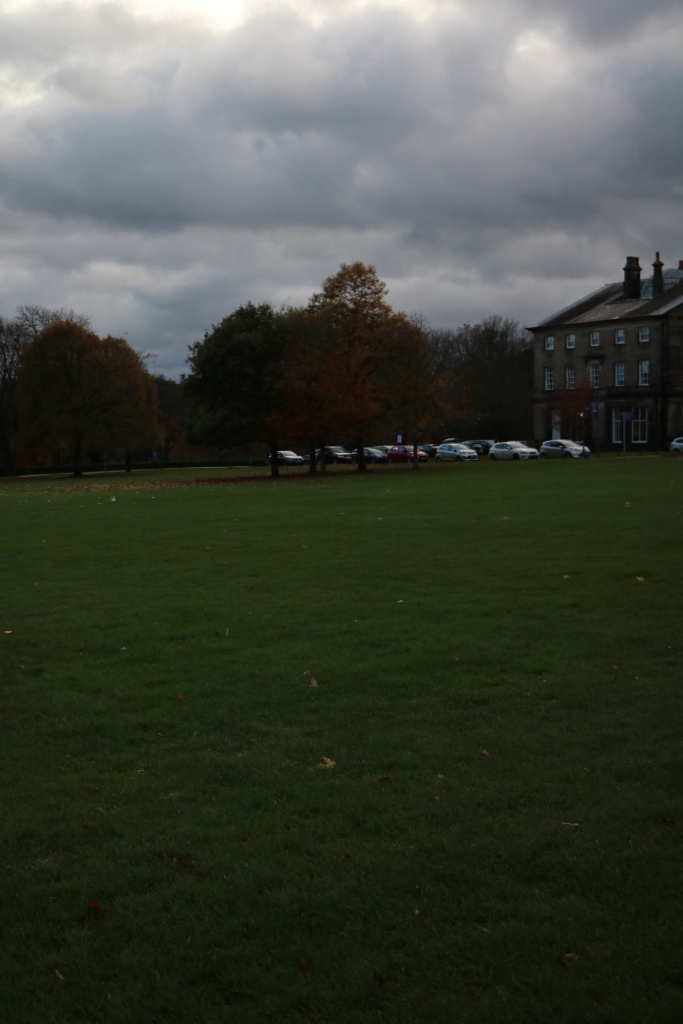
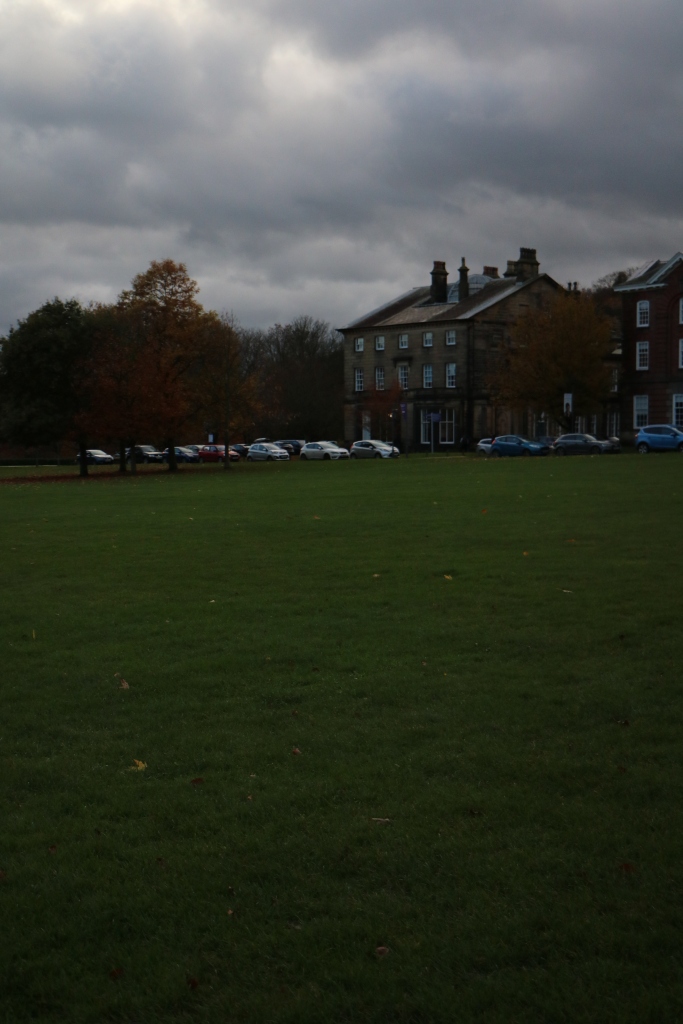
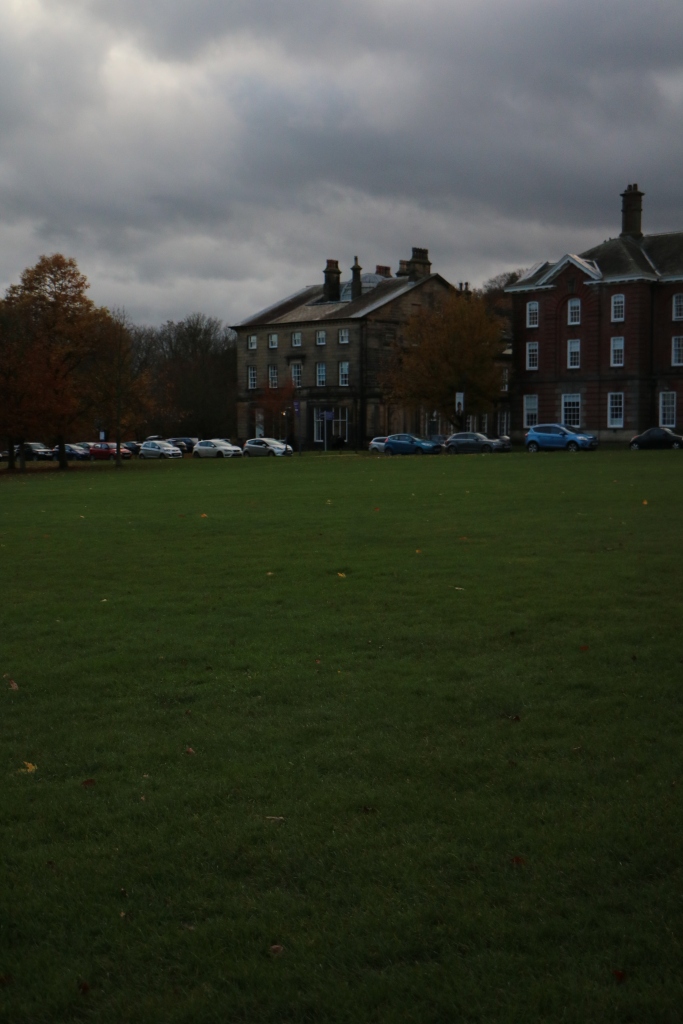
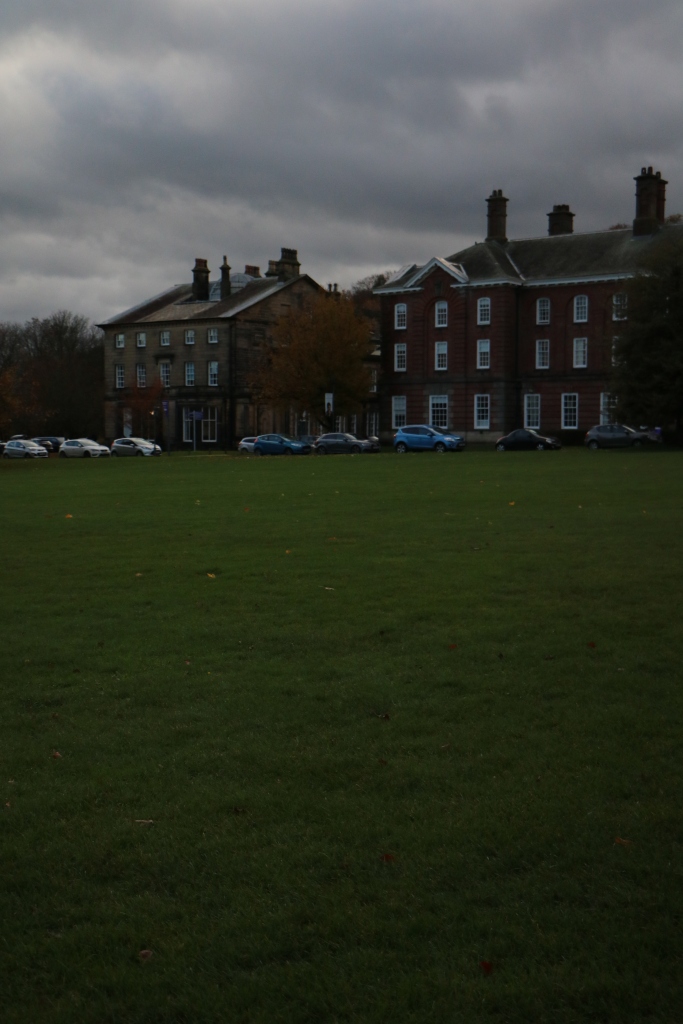
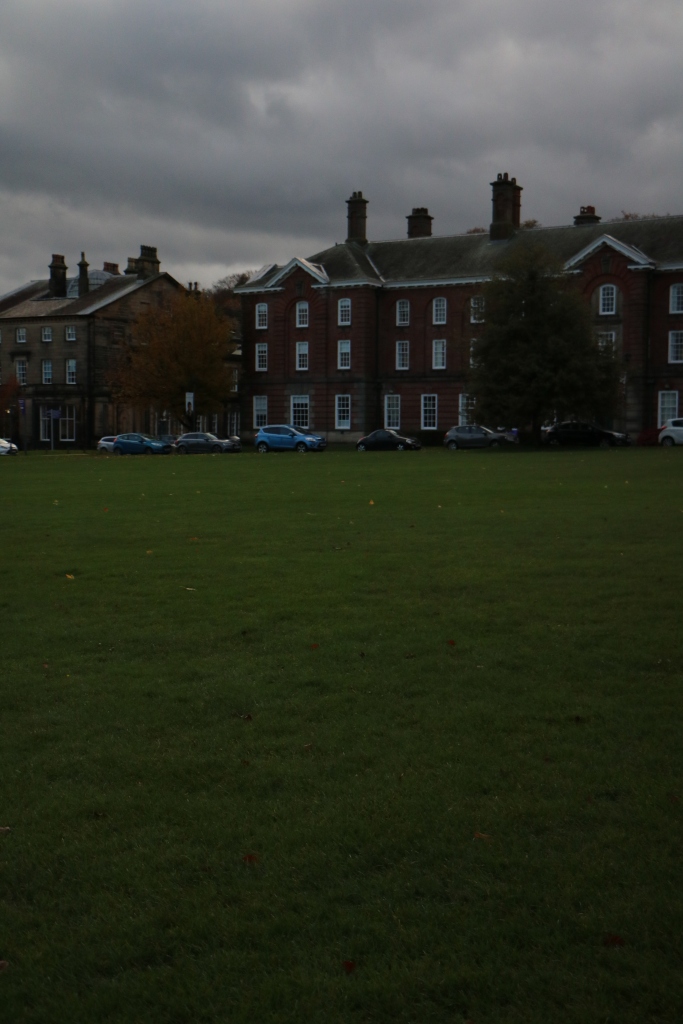
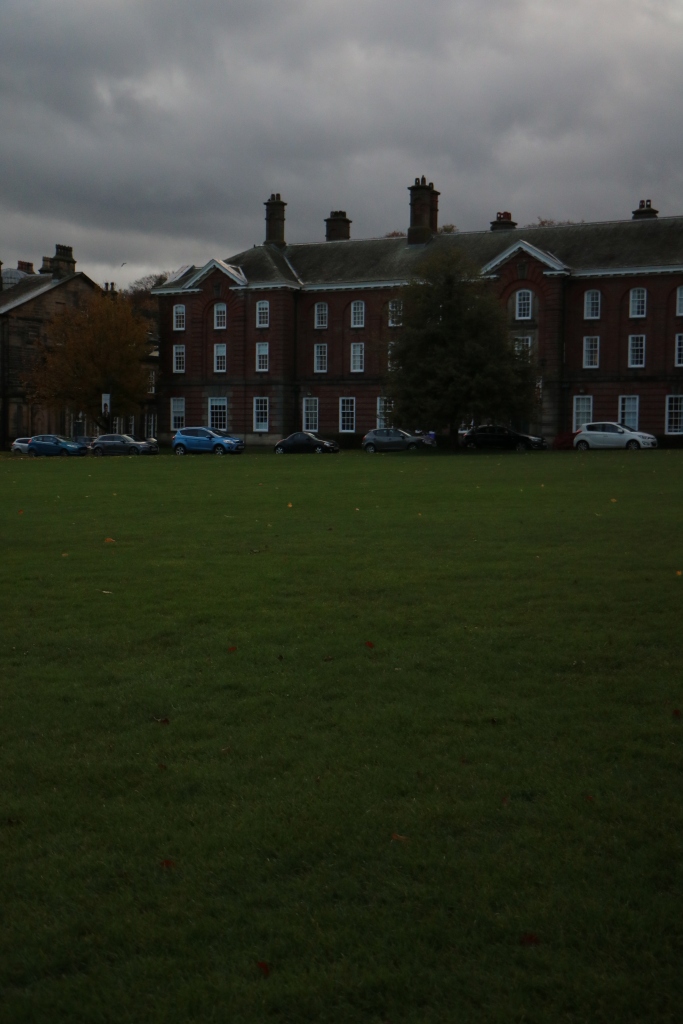
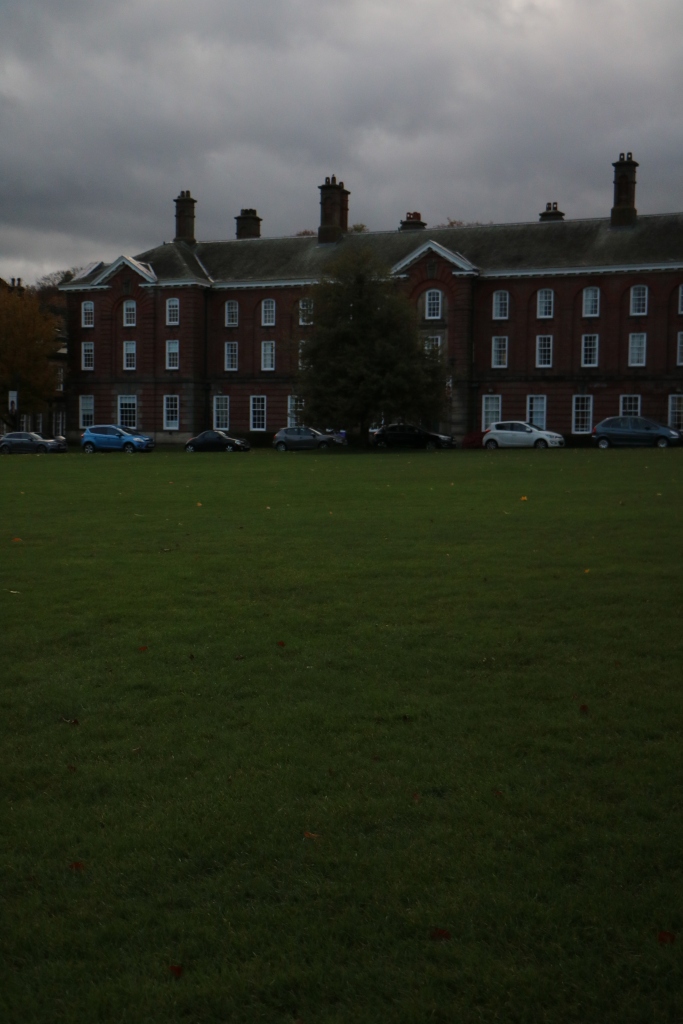
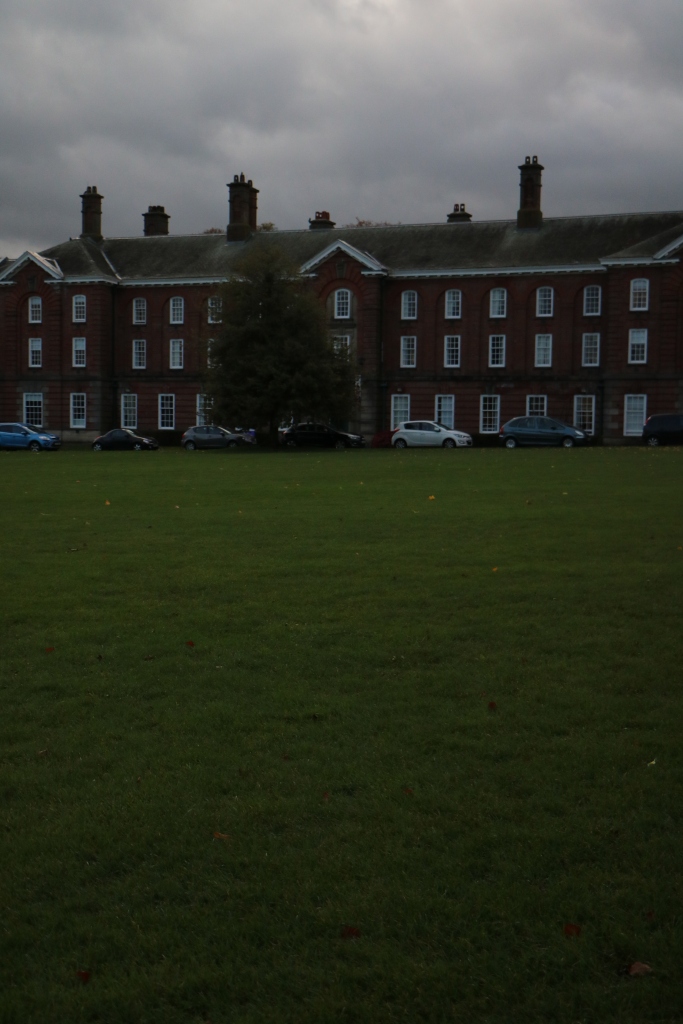
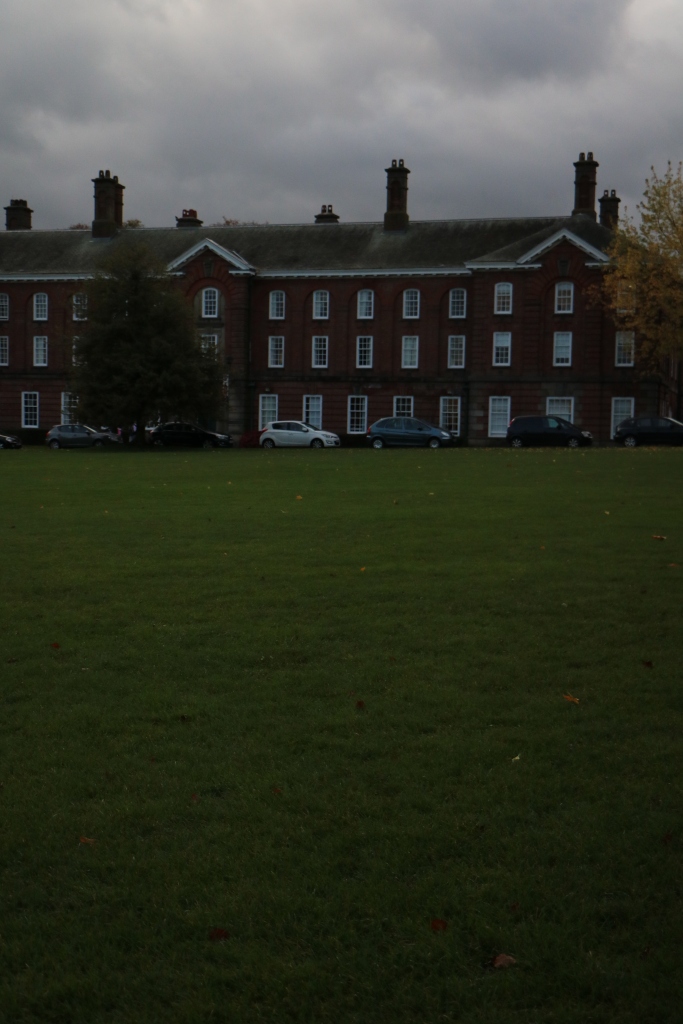
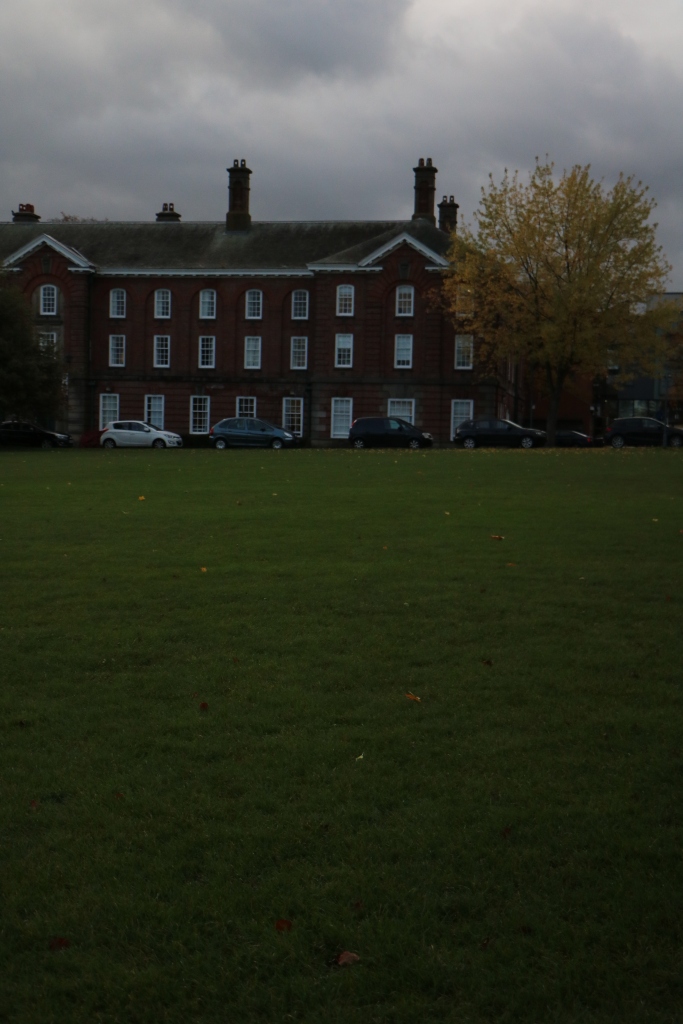
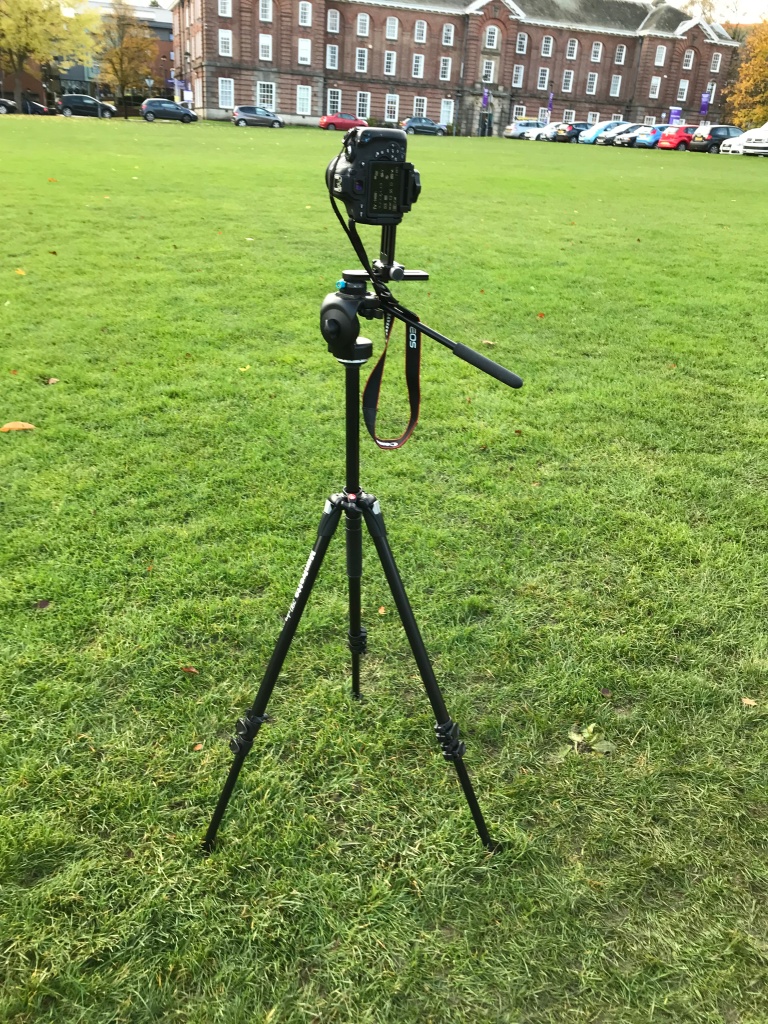
Our first task was to film a 20 second plate extension of the James Graham building. The camera had to be mounted onto a tripod using a lens that allows for anamorphic framing. The shot had to be facing the front of the building and pan up across and beyond the face of the building for the first 15 seconds, and then remain fixed until the end of the video. The plate extension comes into play when the camera extends beyond the existing roof of the building, later edited by the VFX team, to which the CGI extension would be revealed.
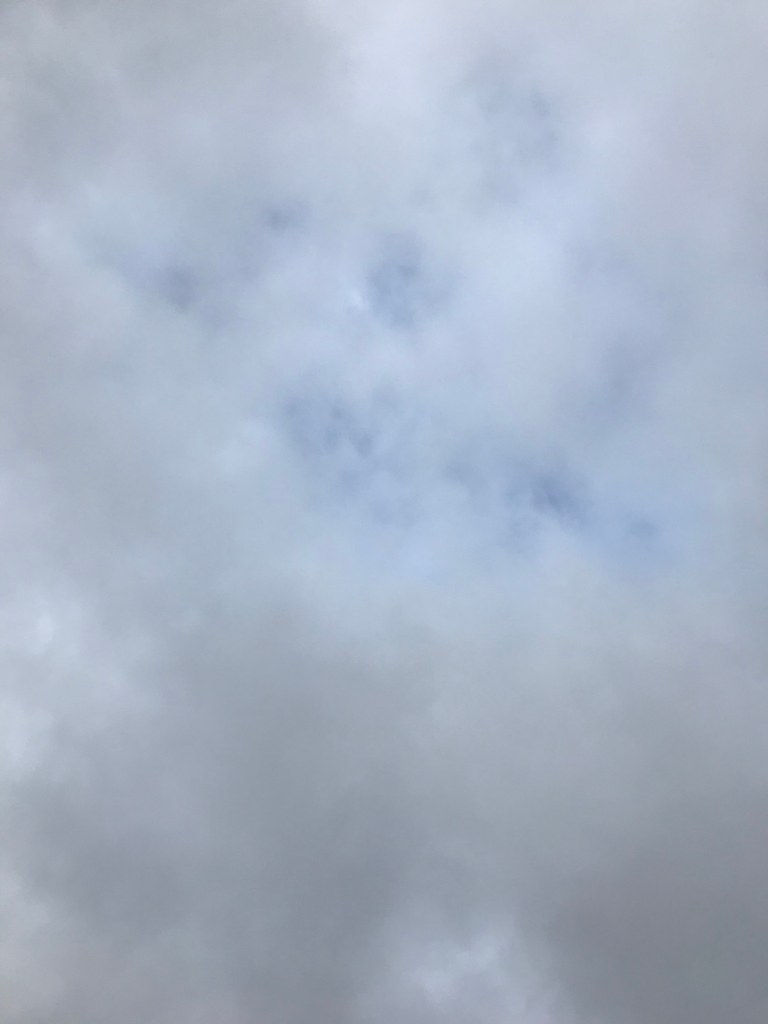
Lighting/colour reference:
The weather was very cloudy on this day with no sun peaking through the clouds at all. The entire scenery was dull/gloomy and had no shadows or reflections on objects whatsoever.

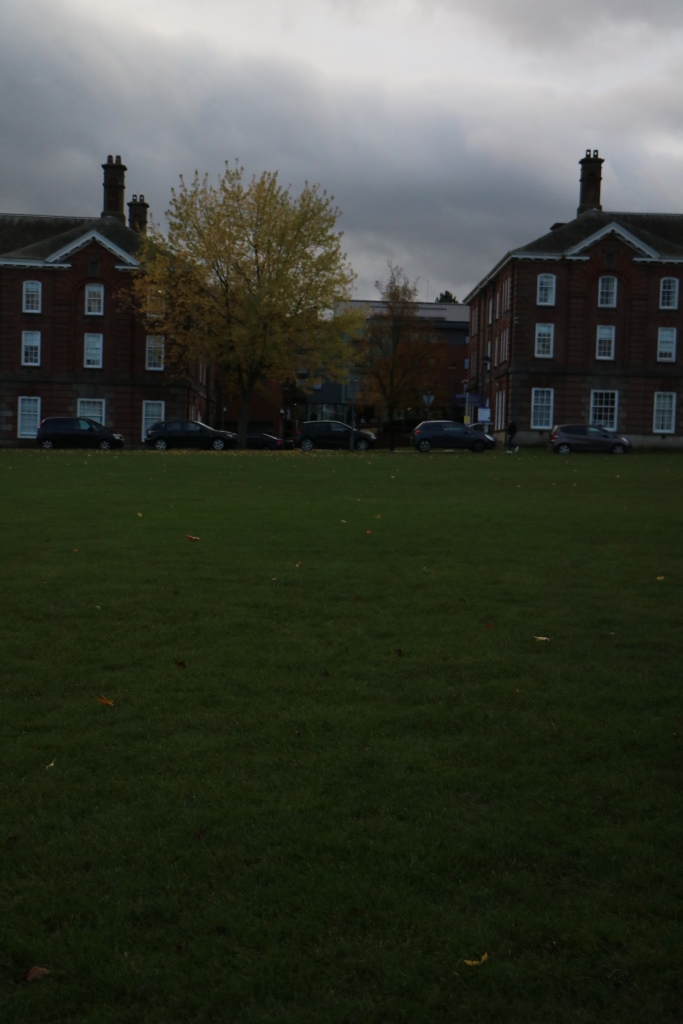
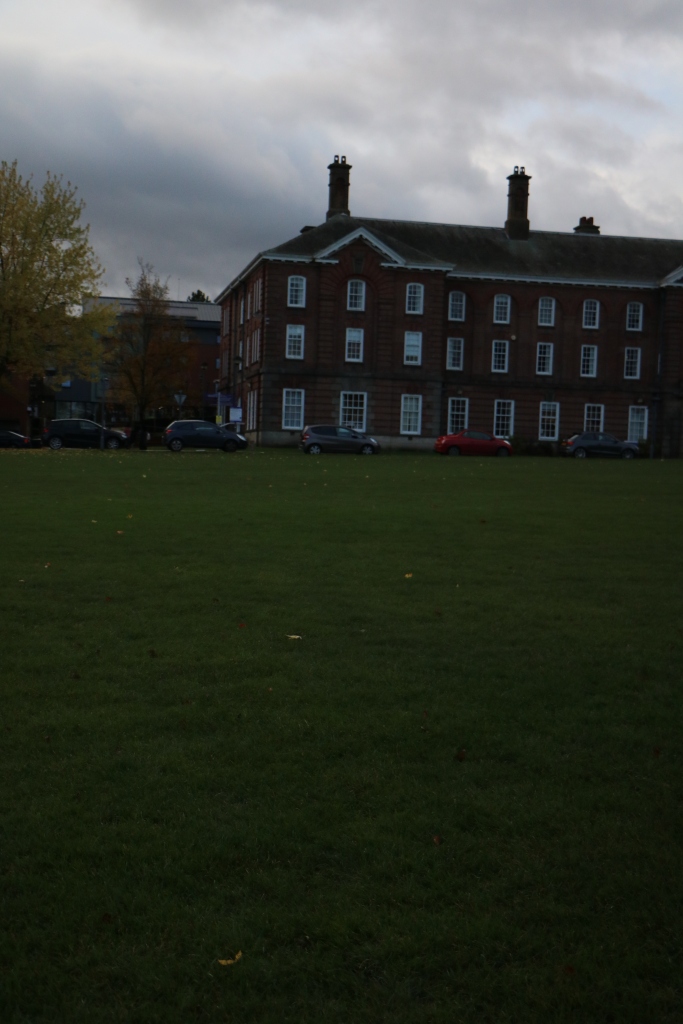
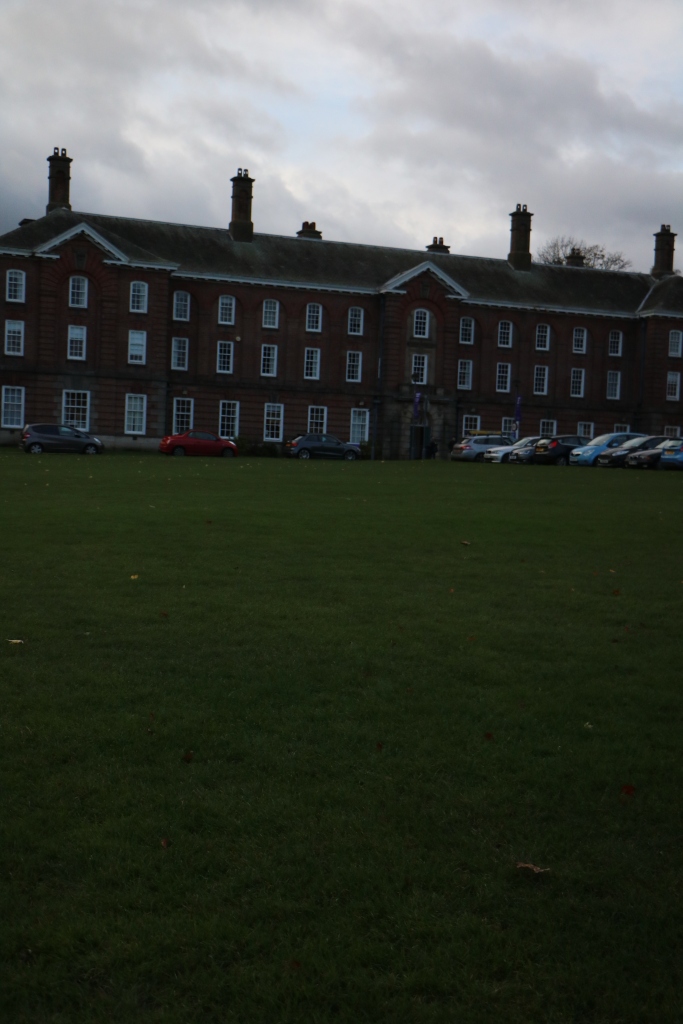
Set Survey
Element Data Sheet:
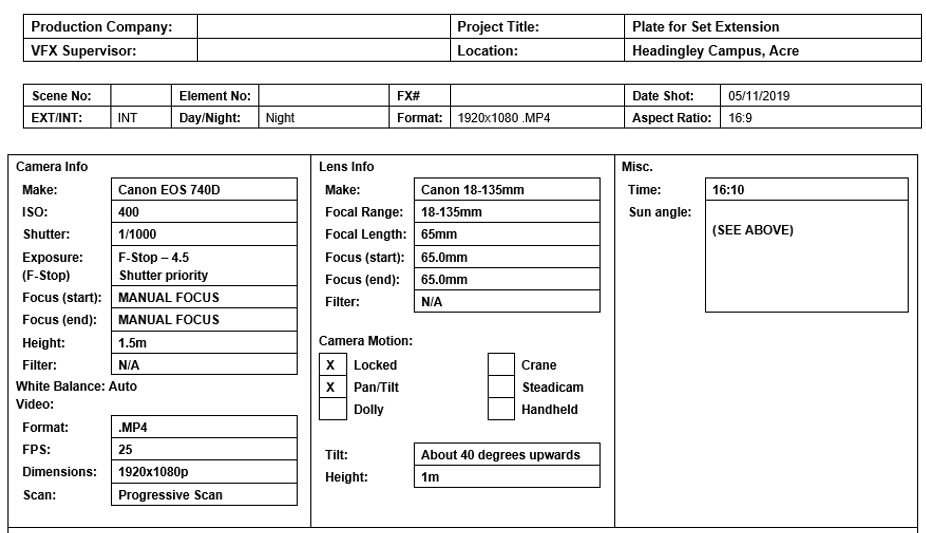
To begin, I set the ISO to 400 to allow for a slightly dark image, but not too dark. I went for a low shutter speed of 1/1000, so as to reduce motion blur during the shot. Obviously, if I am panning the camera upwards, this can create motion blur, and without making measures to reduce it – this can make the VFX’s team’s lives harder when it comes to implementing the CGI extension. I set the F-Stop to 4.5 to create a moderate depth of field. I used manual focus, since I didn’t want the camera to shift out of focus when panning onto the sky. The camera both has a locked and a pan/tilt state during the video, it pans upwards until it’s above the James Graham Building, of which it then remains stationary for the remainder of the video to allow for the VFX team to edit in an extension.
Task 2: Focus Pull with Shallow Depth of Field –
Next, I had to use the manual camera controls to create a shallow Depth of Field whilst at the same time minimising over-lighting the shot. I initially focused on the foreground, with the background out of focus, and then switched so that the background was in focus and the foreground was in focus, and then back to the front.
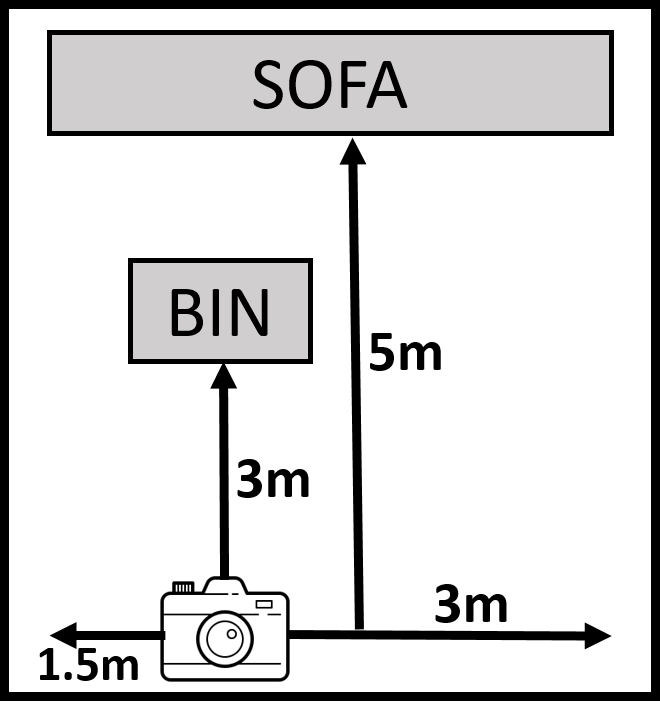
For this challenge, I had a bin in the foreground and a sofa in the background.
Element Data Sheet:
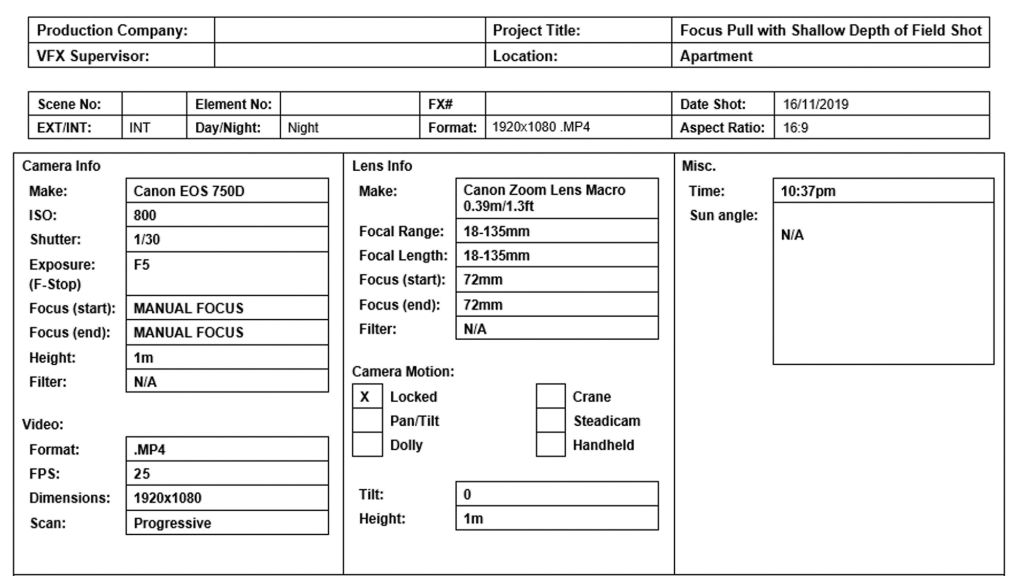
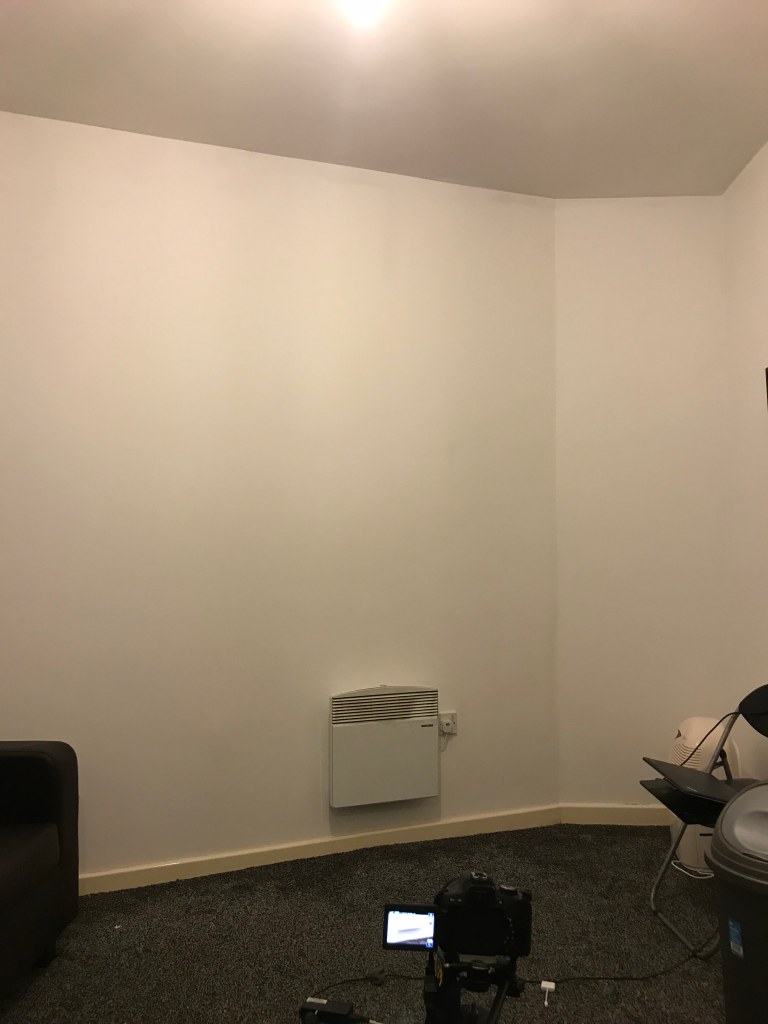
I decided to use a macro lens to allow for better detail for the close up shot and due to nothing moving in the image. For this I decided to go for an 800 ISO, as it was quite dark in the room so I wanted the exposure to be moderately high so that the image to be bright. Likewise, I didn’t make it too high to limit noise. For the F-Stop, I went for F5, this was the lowest F-Stop available for the lens and zoom that I had. This created a shallow depth of field and easily allowed me to blur the background/foreground (depending on which I was focusing on). Obviously, I did not have auto focus on so that I was able to adjust it manually. I also had stabiliser on and the camera attached to a tripod to limit screen shaking when altering the focus.
Orthographic Set Survey (diagram of environment):
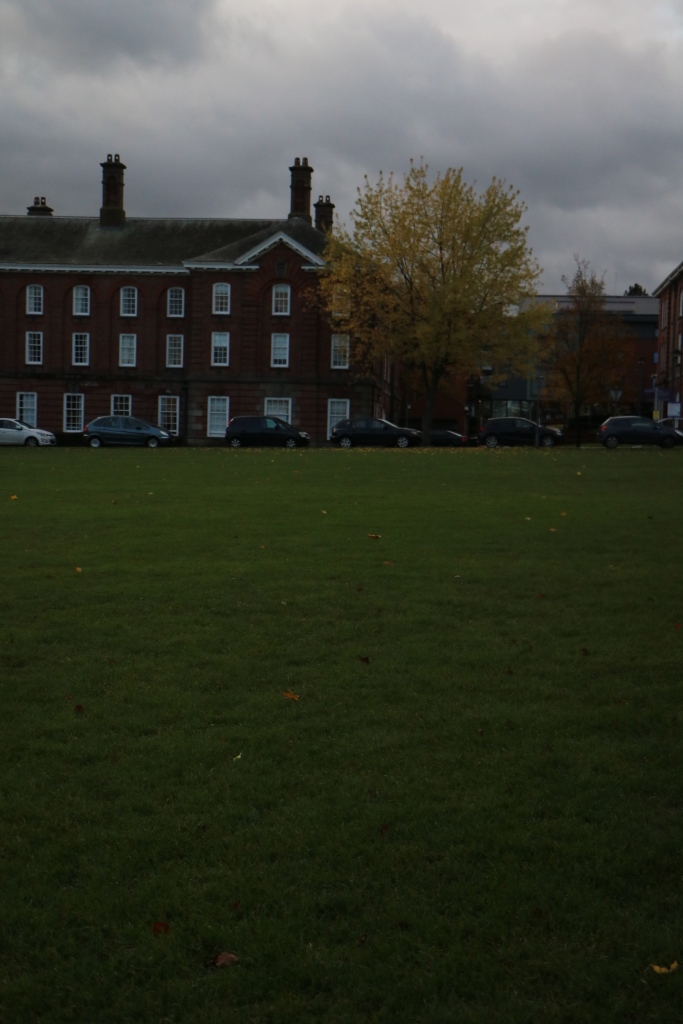
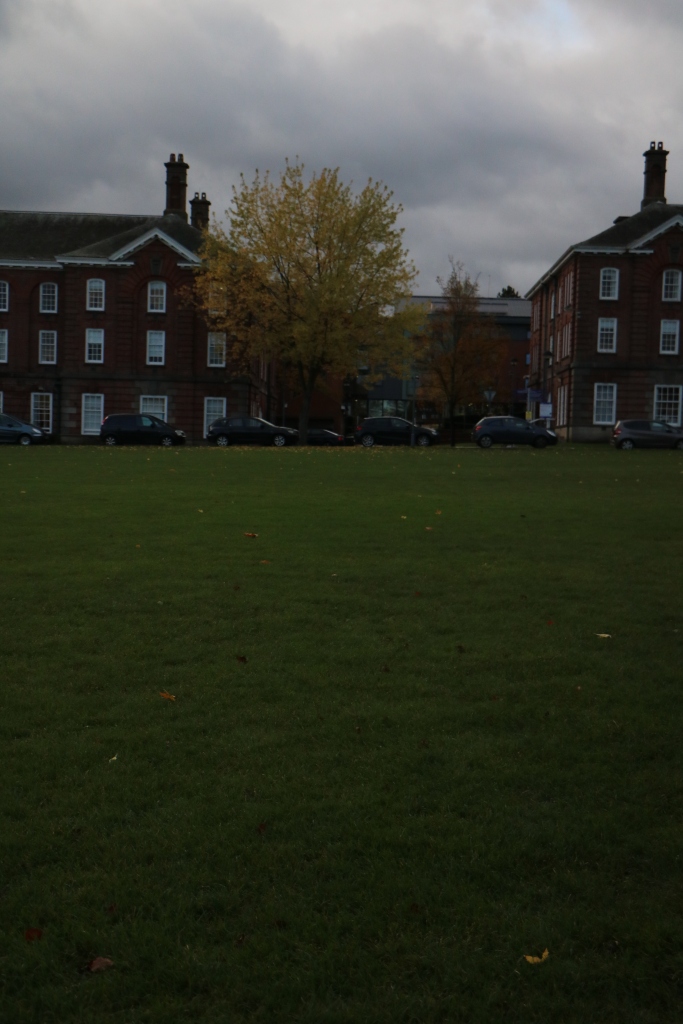
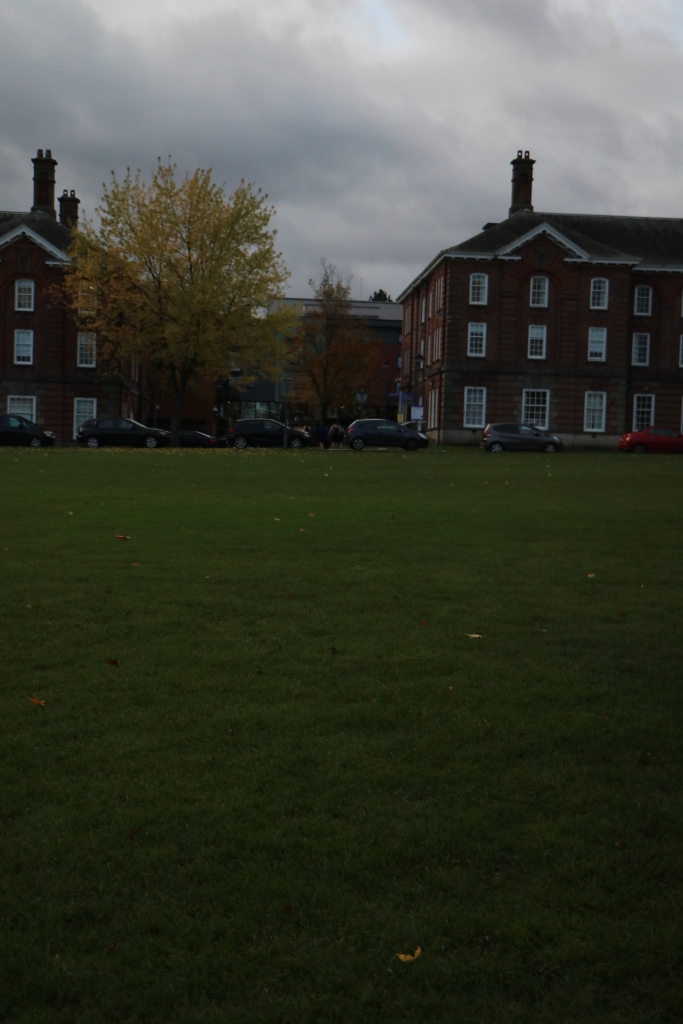
Task 3: Natural Light Task–
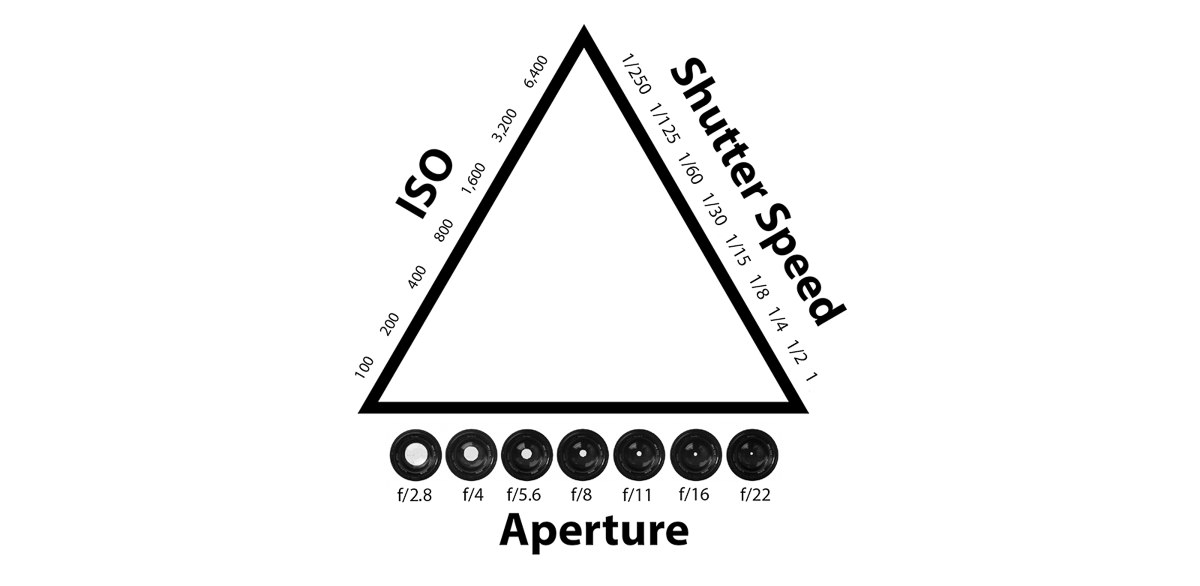
For this task, I had to capture a still image of a person stood in front of a brightly lit external window. The person had to remain sharp, whilst minimising the extent to which they are blown out by the natural light source. The goal was to learn about the exposure triangle.
Here is my final shot:

Element Data Sheet:
I decided to go with an ISO of 800 to brighten the image up since it was shot in the evening, however I didn’t make it too high to not allow for too much noise. I set it to auto focus for ease. The F-Stop was set to 22 to let in more light but didn’t go any further to risk the image being too blurry. The shutter speed was set to 1/20 to let in more light.
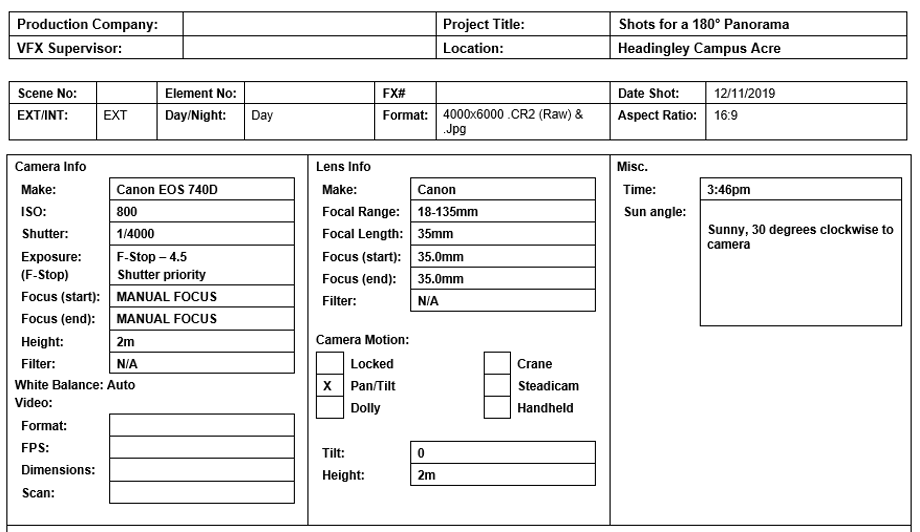
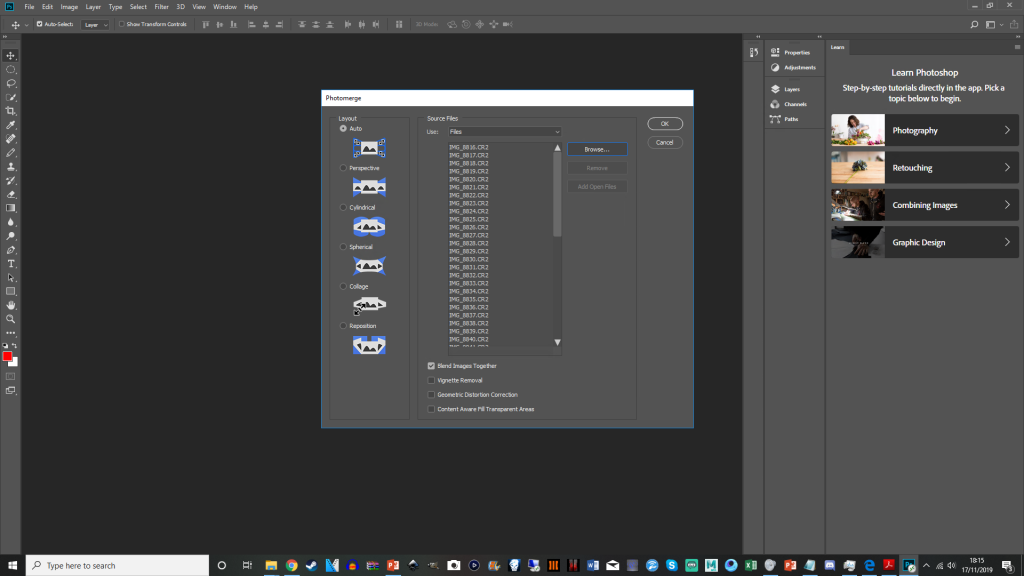
Task 4: Shots for a 180° Panorama –
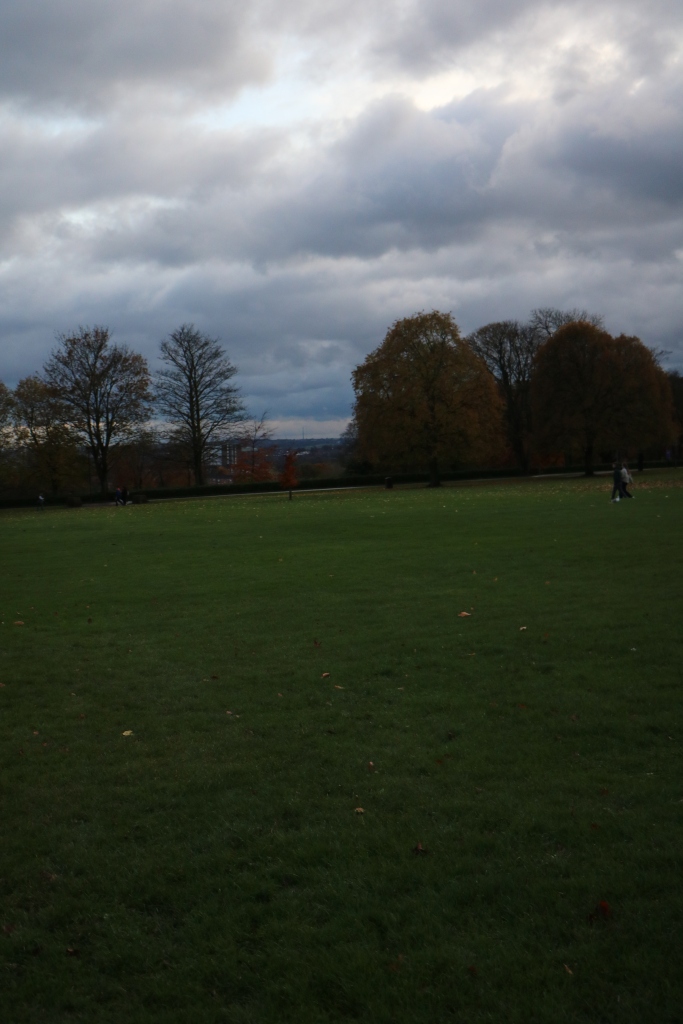
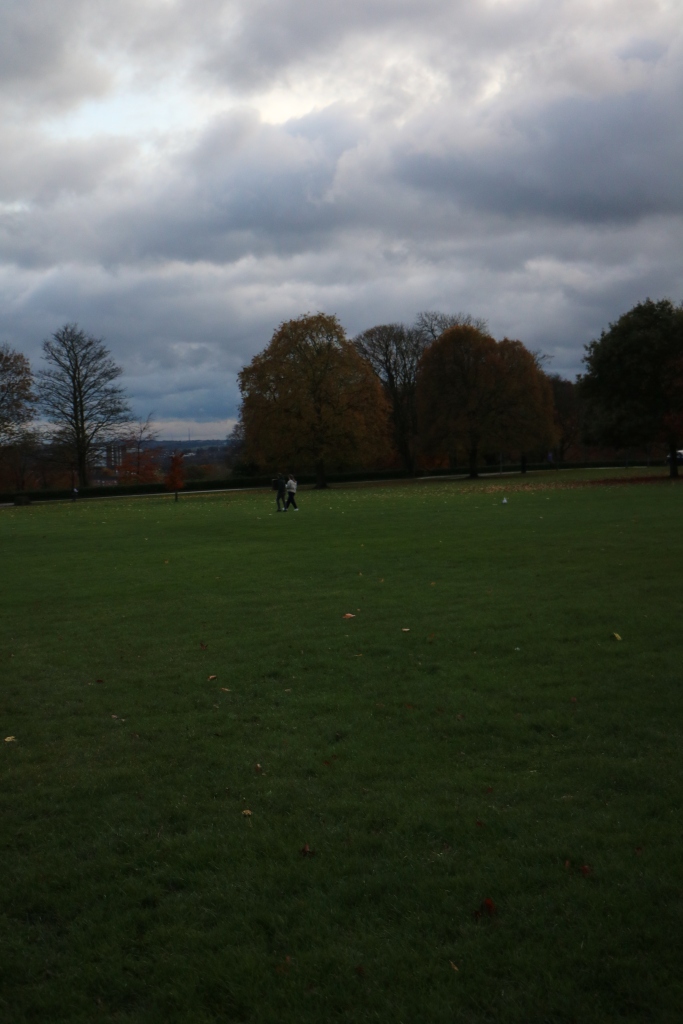
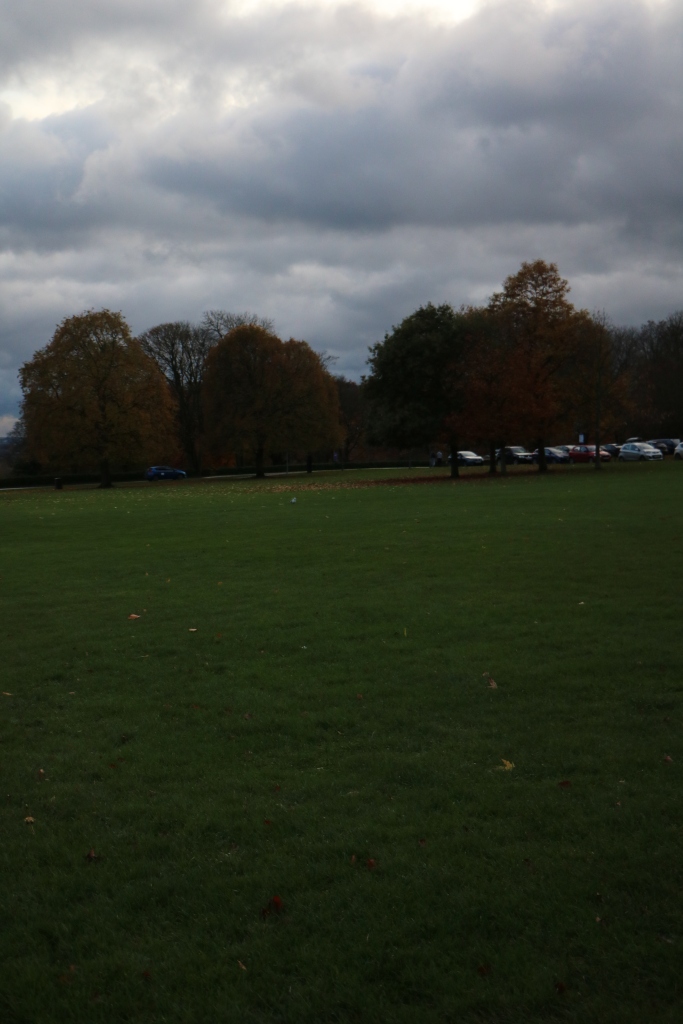
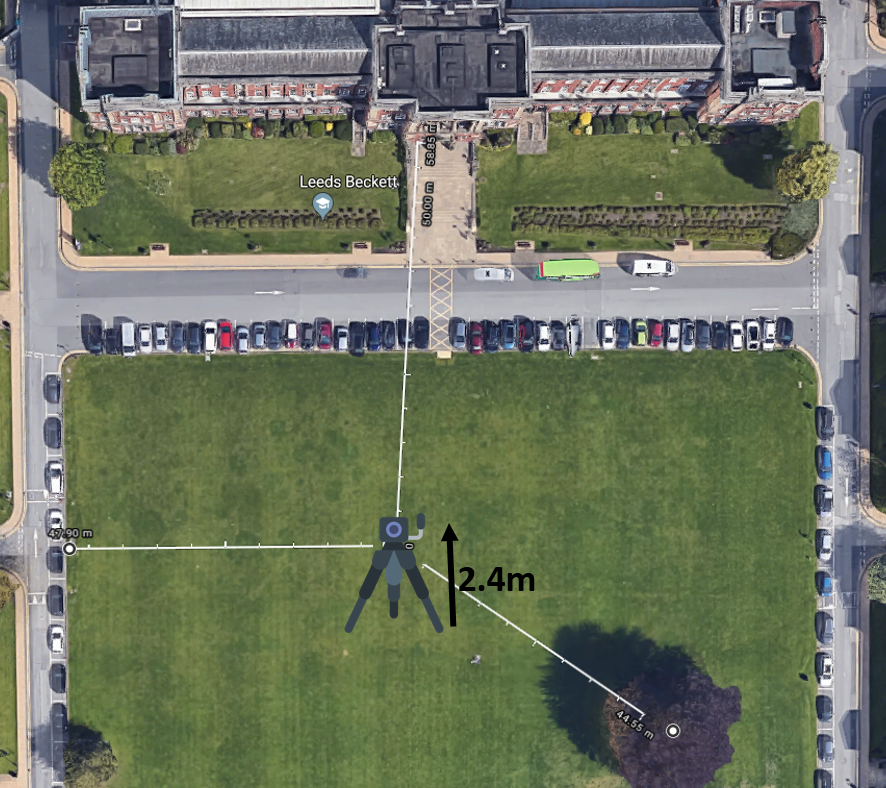
For this task, I had to create a panorama of the Headingley Campus acre. I used a nodal slider that mounted onto a tripod/camera setup to reduce parallax. I took over 50 photos, starting off from the left side of the acre, and then panning ever so slowly right, until I turned the full 360 degrees. Each time I would increase the distance ever so slightly so that at least 25% of the previous image was present. This was done to allow me to identify key objects seen within the previous image, so that I could then sync together in Photoshop, in order to merge all of the images together. We had to take the images in PDF and RAW format.
Here are all of the images that I took:


Here is proof of using a nodal camera/tripod setup:
Orthographic Set Survey:
Lighting:
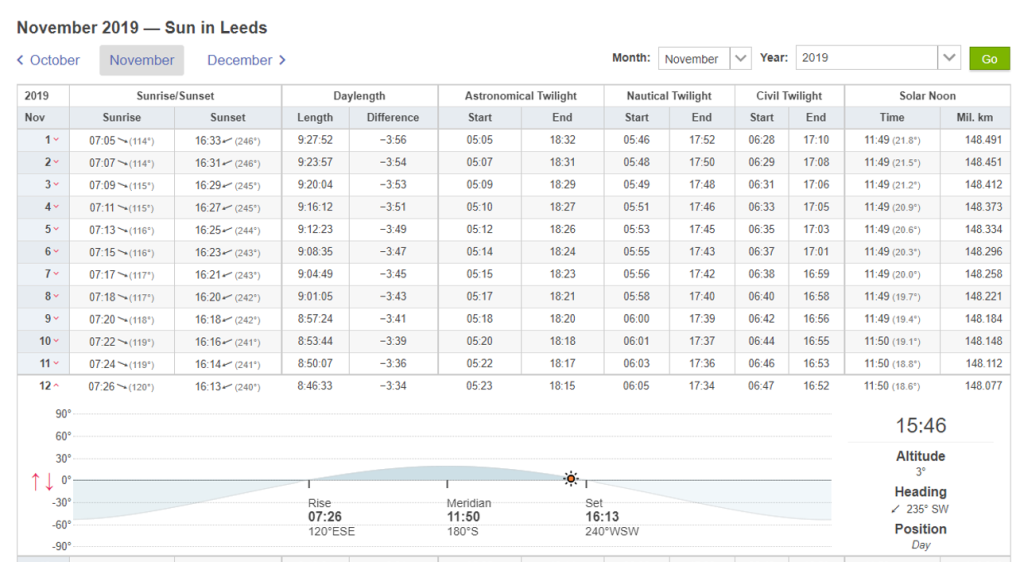
In terms of the lighting for the panorama, it started raining right as I begun taking the pictures so it went quite dark.
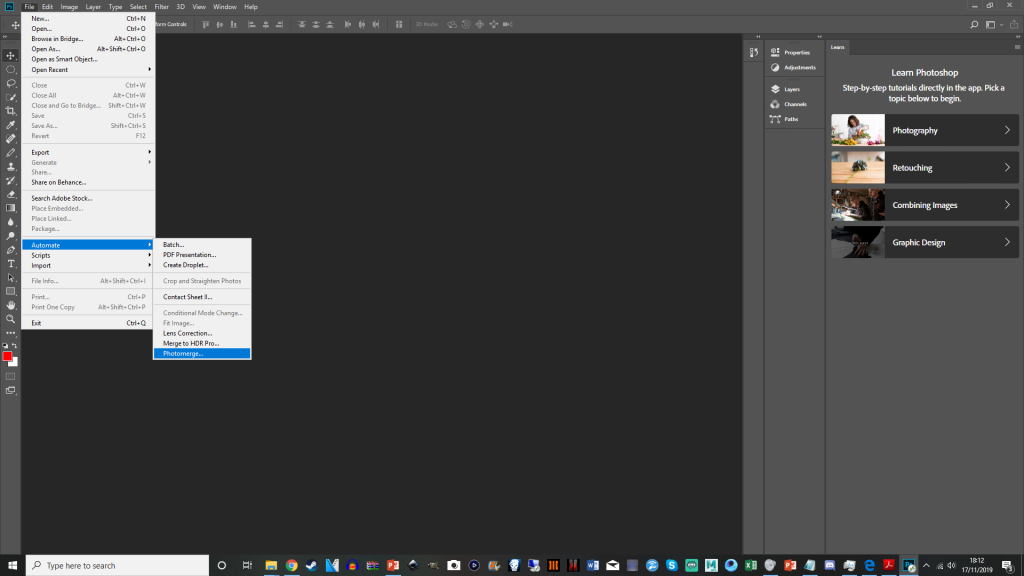
Using Photoshop I merged the shots together.
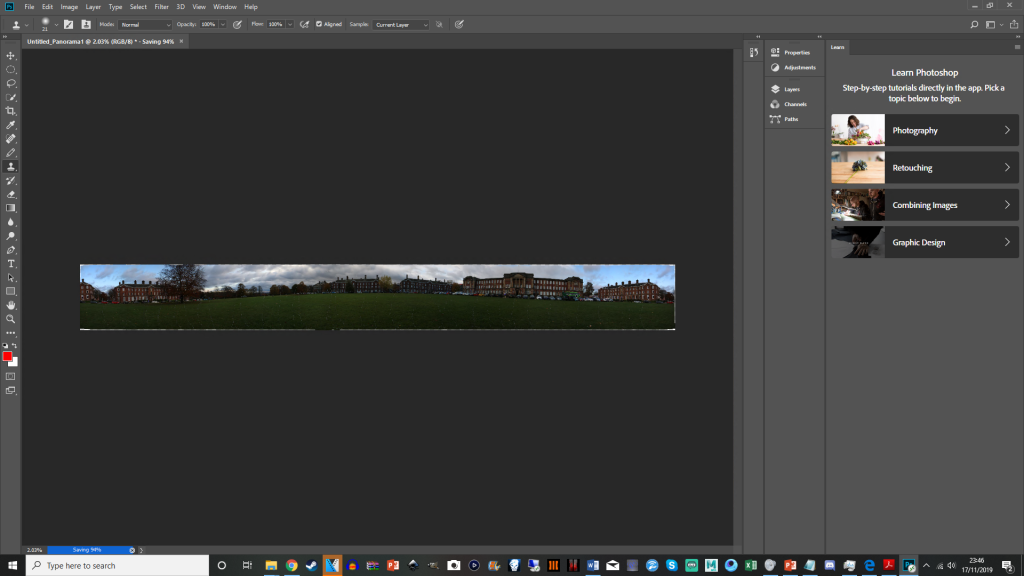
I then exported the image as a HDR image and a .jpg, below you can see the .JPG file.

My panorama was so long that it actually overlapped where I started and ended taking the shots.
Here is the download to my HDR version of the Panorama – https://mega.nz/#!BghzHKKR!RN83TlzCfjUFLPEPlaJWp5yh2rGsBTTk9cUh0rJAYMg
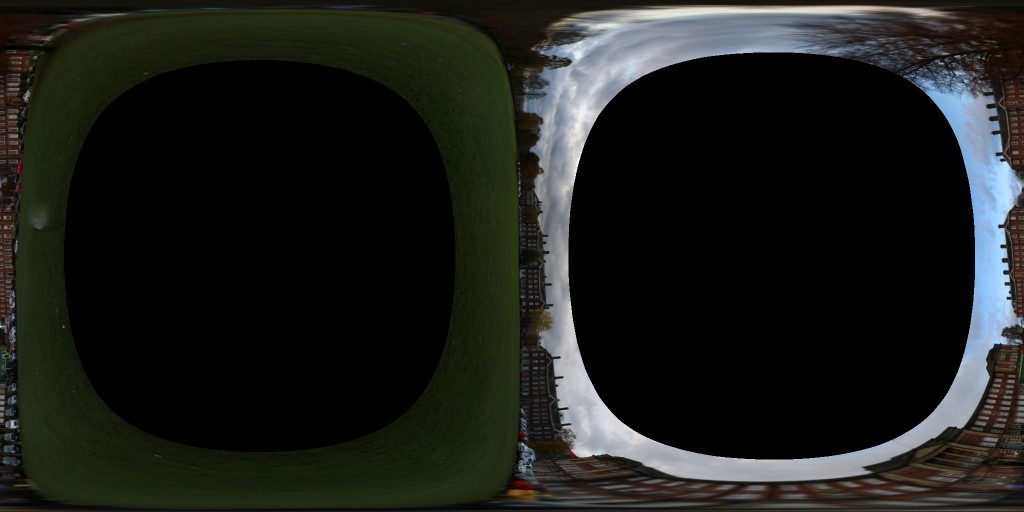
I also experimented with Photoshop to create a weird 360 degrees panorama
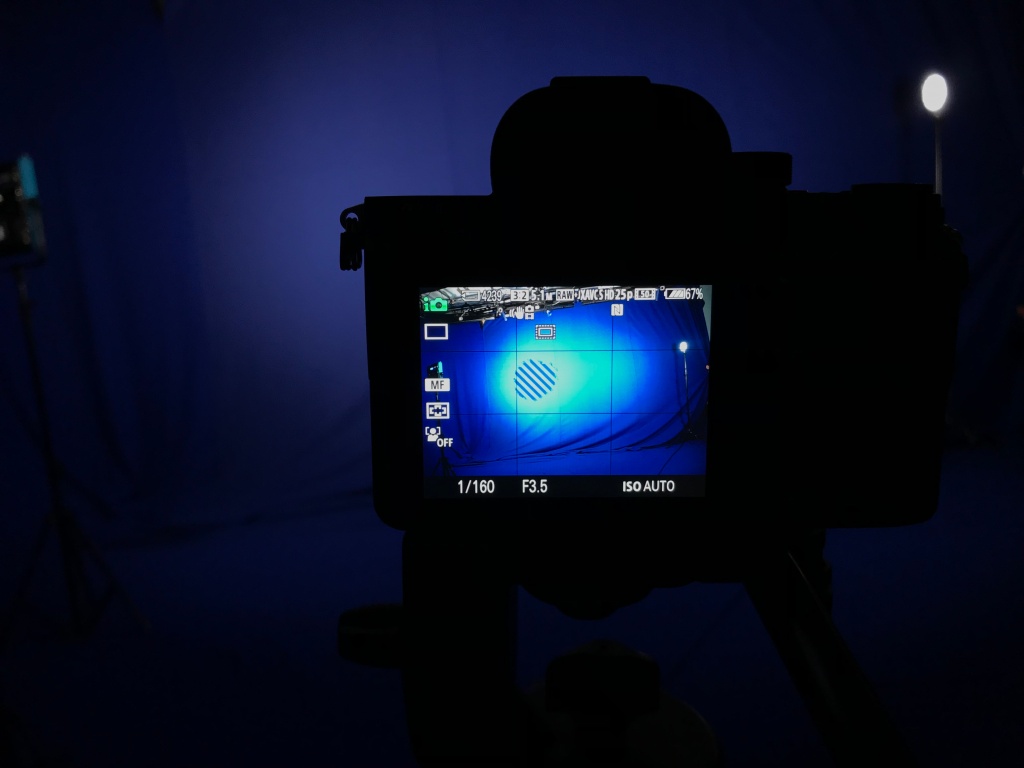
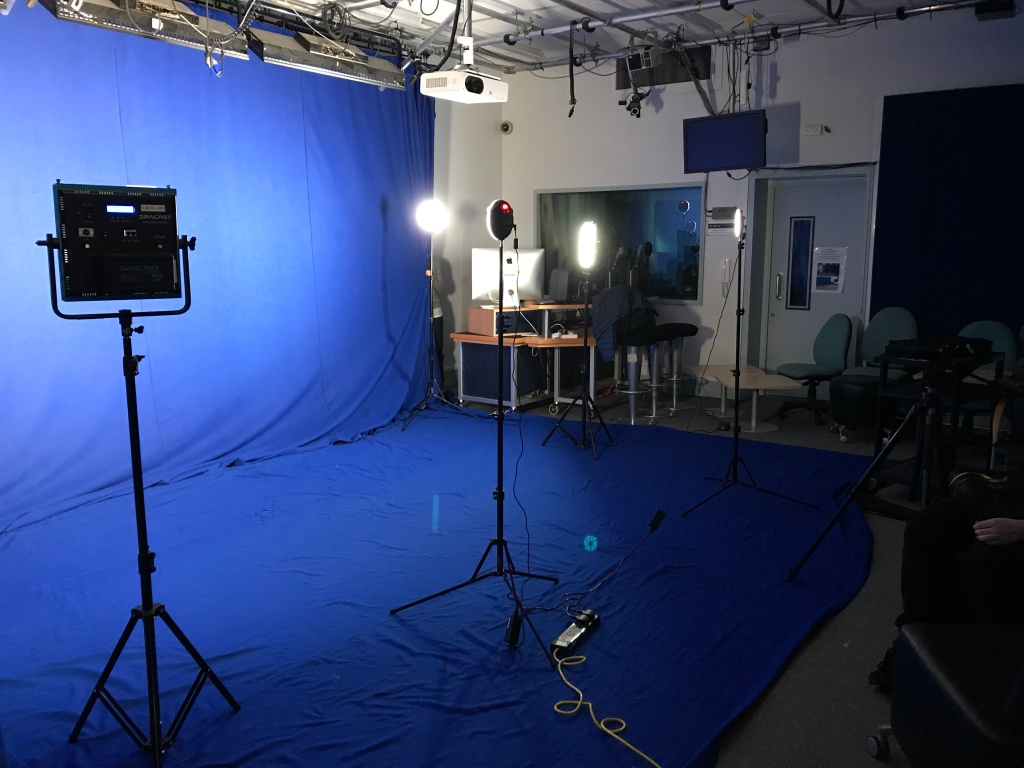
Task 5: Blue Screen Shot –
For this shot we had to film a short video of a person in front of a blue-screen. The goal was to make the blue transparent, so that we could place the video on top of a background image to create the illusion of actually being there. To do so, we had to ensure that the lighting was consistent as possible, so as to ensure that there were no areas of extreme light or darkness. To achieve this, I had to use a camera that had Zebra Stripes, so as to identify sudden changes in exposure.
I setup lights around the talent, and through the assistance of the zebra stripes, I managed to adjust their position accordingly until all of the zebra stripes dissipated and the lighting was perfect. I also had to stretch out the bluescreen sheet/curtain to reduce creases and shadows. In addition to this, I got assistance for someone to hold back the bluescreen curtain.

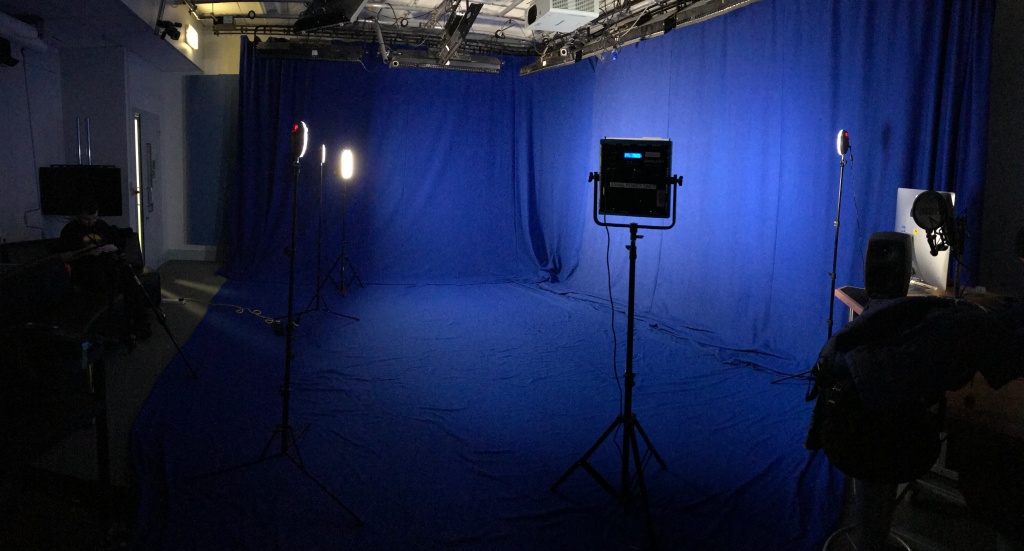
The concluding shot was the following:
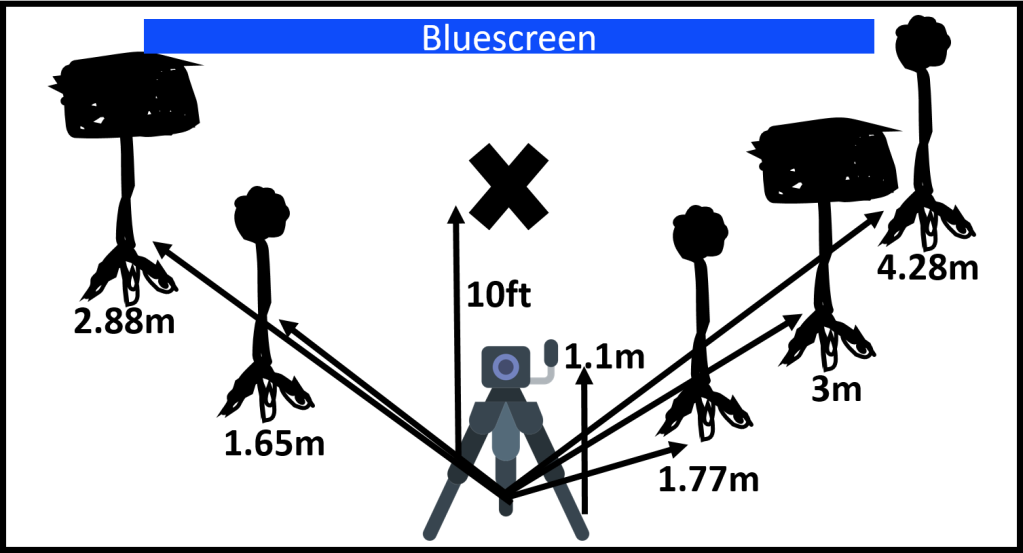
Blue-screen Orthographic:
Element Data Sheet:
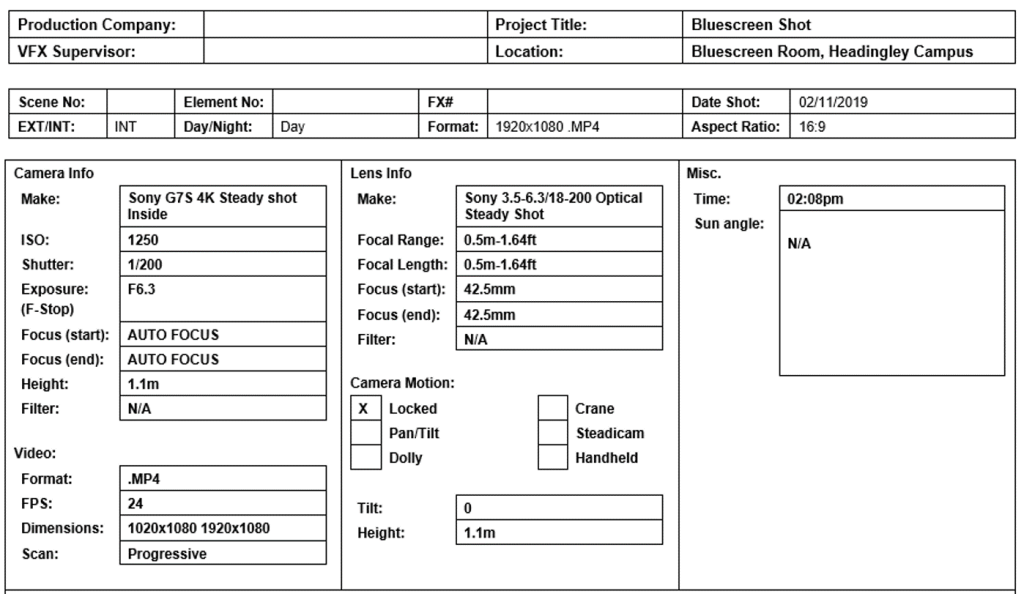
For this video I had the camera mounted onto a tripod to keep the shot stable. I chose to use auto-focus, due to my talent potentially moving mid-shot. I had the shutter speed set to 1/200 to not let in much light to try to mimic the relevantly dark lighting of my reference image.
This is the external shot that I took to use for the background (the goal would be to blur out this image and crop it so that the background is only of the cars and upwards; where it is brighter):

Task 6: Plate for Facial Tracking Shot –
For the next task to apply facial tracking markers to my face in order for it to be tracked for CGI (whether that be the removal or addition of features to my face).
To do so I drew on dots in a grid formation to my face with a marker pen. It made it a little difficult due to my hair covering my forehead and this method being so unorthodox.
Orthographic
Lighting reference:
Element Data Sheet:
Once again, I used an 800 ISO to brighten up the dimly lit apartment ever so slightly. I kept the shutter speed to the lowest possible (1/4000) to get rid of motion blur. This is important in order to track the trackers on the face for CGI. If it’s blurry, this will create unneeded issues. The F-Stop is set to 4.5 to create a moderate depth of field.
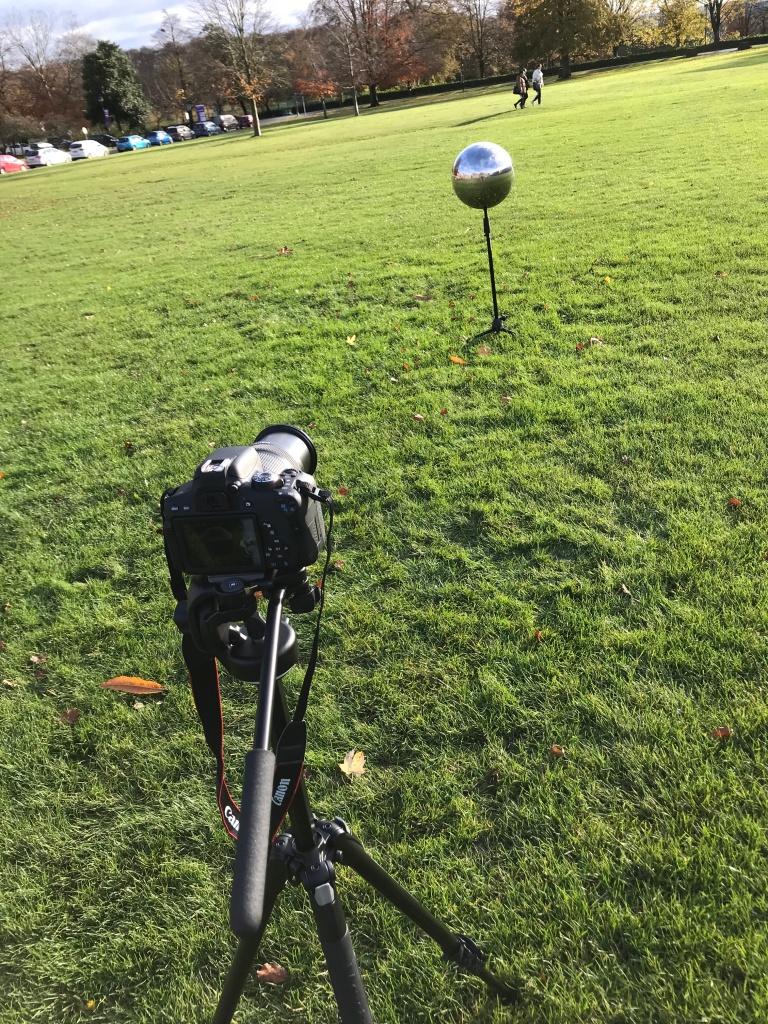
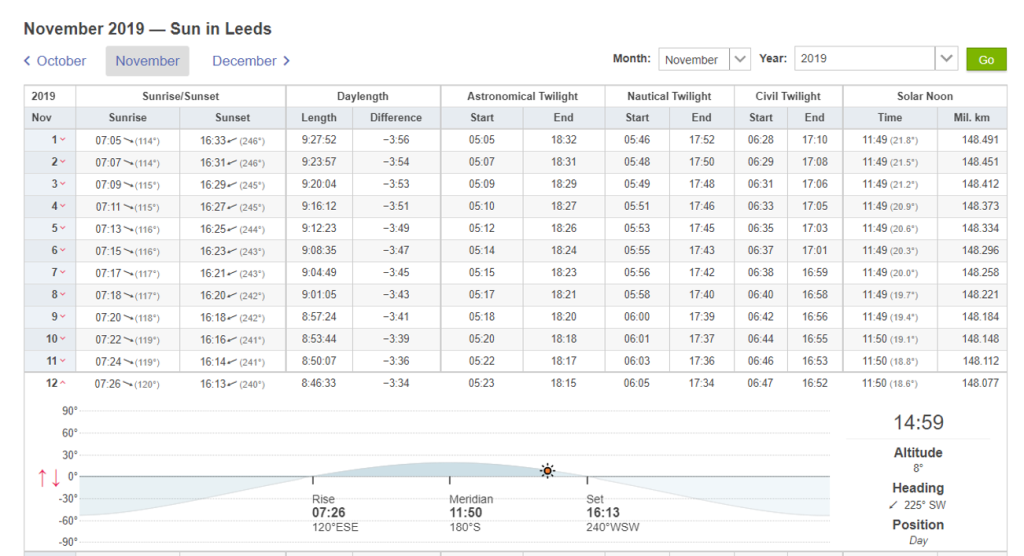
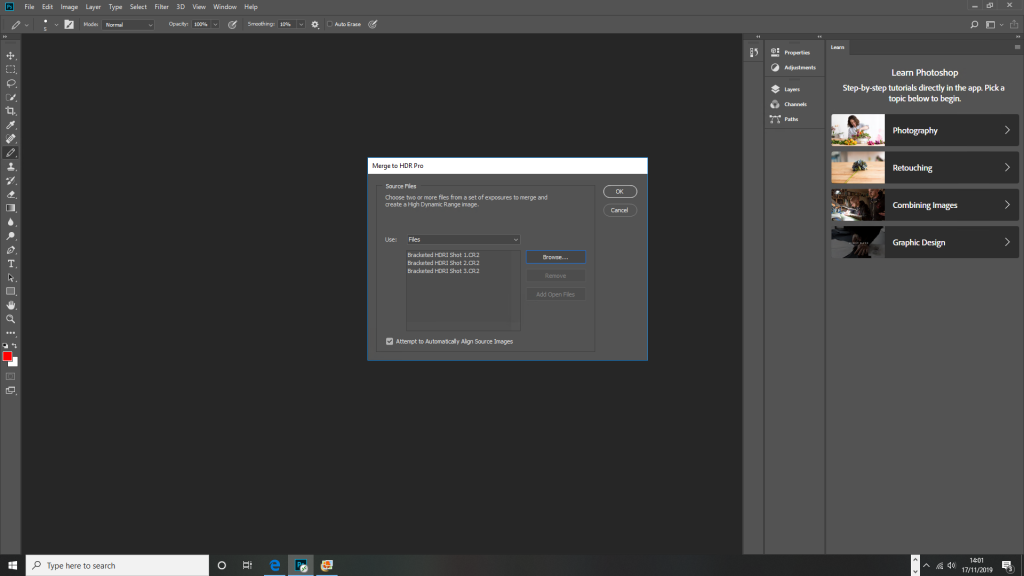
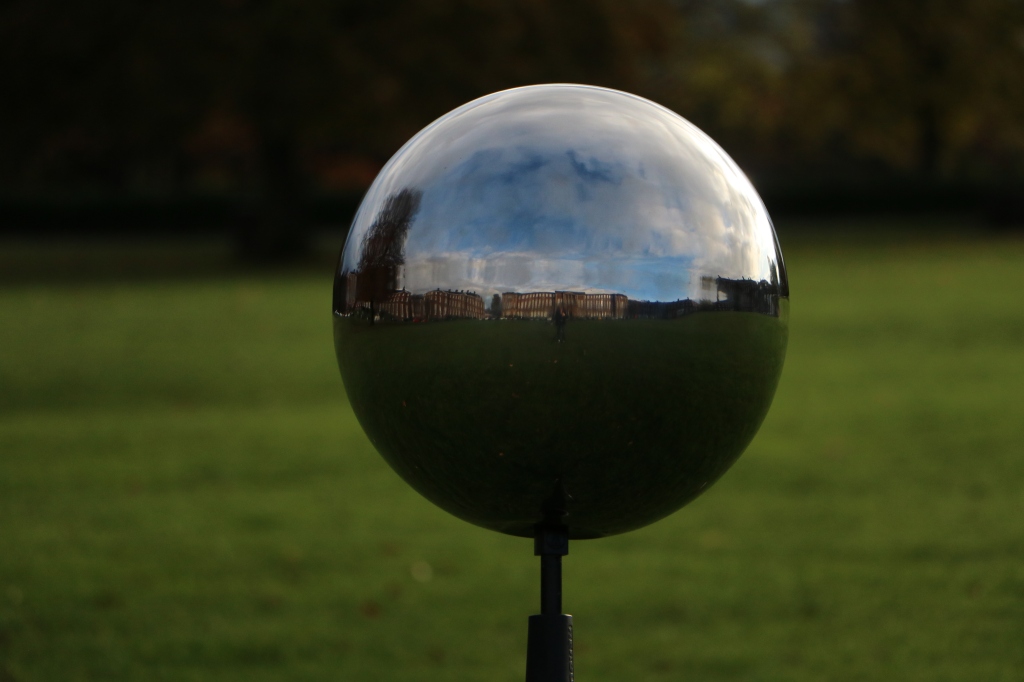
Challenge 7: Bracketed HDRI Shot –
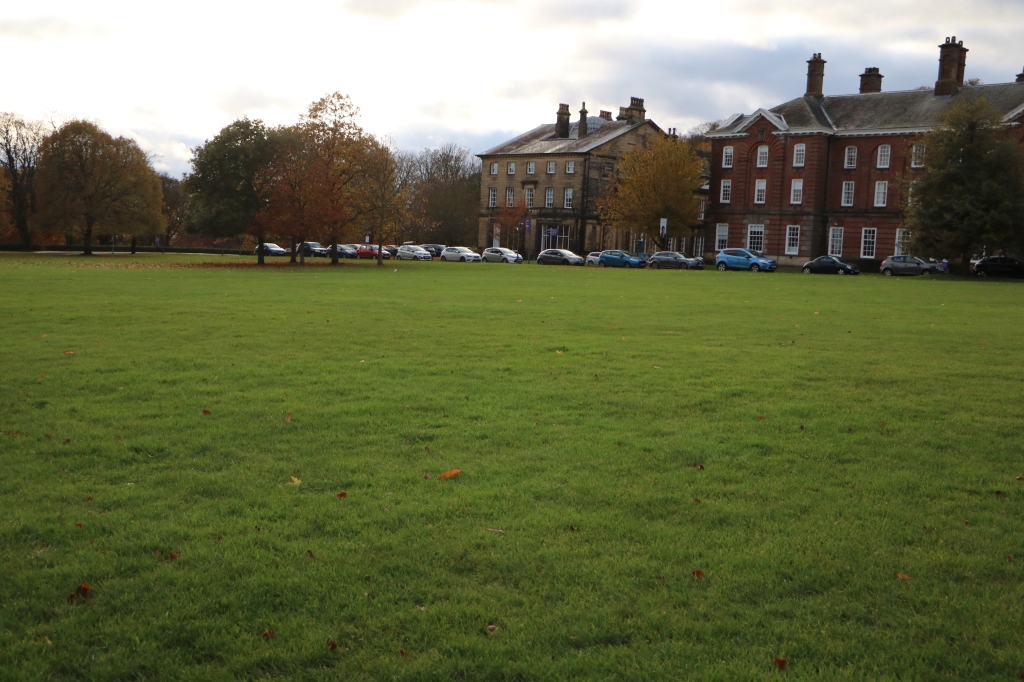
The penultimate task was to create a bracketed HDRI image. In order to do this, I generated three RAW format pictures (.CR2). I first took a 2 stop bracketed picture in RAW format outside in the Acre. By taking a set of bracketed pictures we can get a wider dynamic range.
Orthographic Set Survey:

Element Data Sheet:
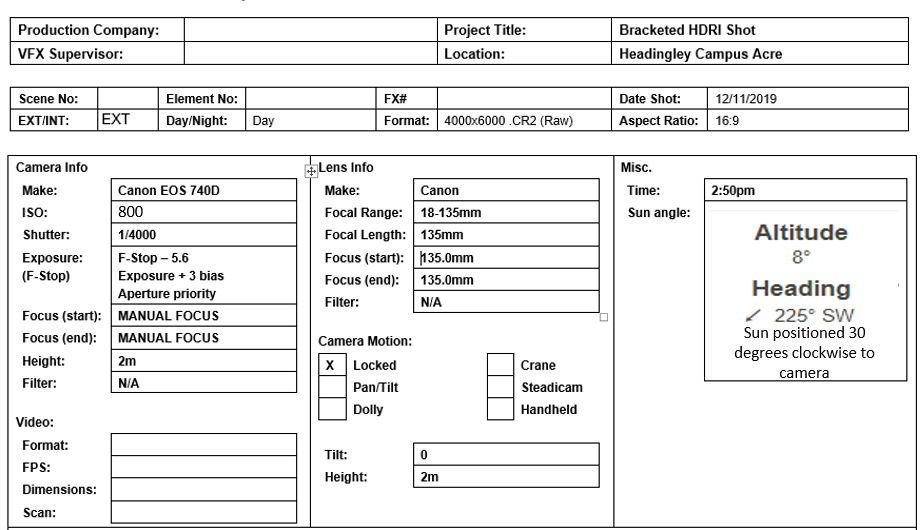
For this shot I turned on manual focus and zoomed in to 135mm (the maximum that the lens could zoom). I did this so that I could stand as far back from the chrome ball as possible, still receiving a clear image, without my body or any equipment taking up too much of the reflection. I tried to position the camera as far away from the sphere as possible (5.4m) before the reflected surface were to become too small and reduce in quality. I ensured to pick a lens with high zoom for this reason. I positioned the camera and chrome ball in line with other other and at roughly the same height, so that I could take the picture dead on, and get as clear and less distorted image as possible. Furthermore, I set the F.Stop to 5.6, since the image is stationary, I might as well have let in as much light as possible to get as clear an image as possible, as there is no need to try and reduce motion blur. The ISO was set to 800 because it was sunny at the time of taking the pictures and there was no need to make it any brighter. I took a 3 stop bracketed picture in order to capture the acre.
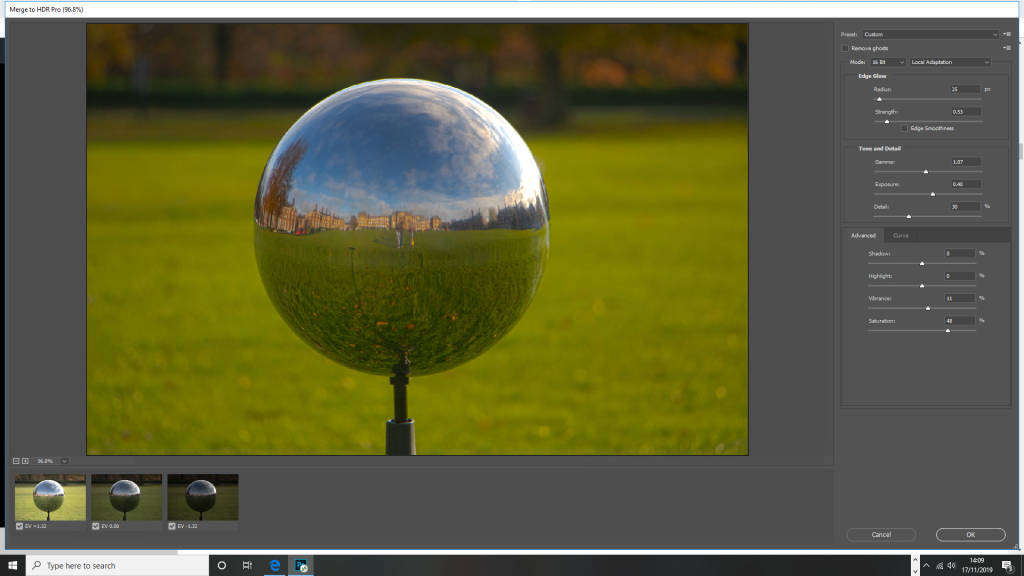
In order to turn the shots into a HDRI image I merged the three together in Photoshop.

I then adjusted some of the settings, such as the saturation and contract, in order to make it more crisp.
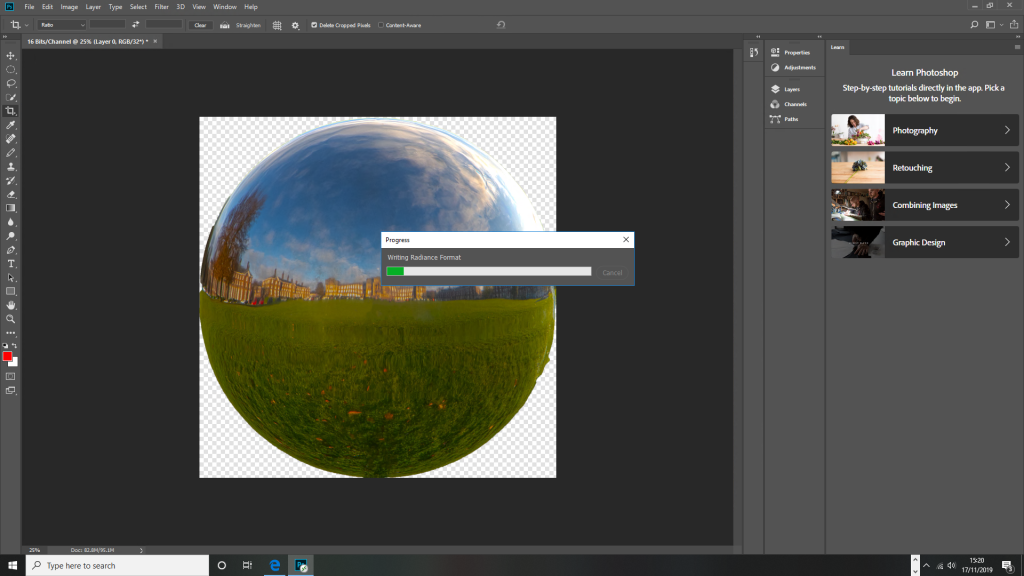
After that, I cutout the chrome ball and cropped the image. Using the spot and healing and clone tool, I also removed unwanted parts, such as my reflection and the chrome ball stand. I then exported the image as a HDR file.
Next, I dragged the HDR file into NUKE so that I could unwrap the sphere.
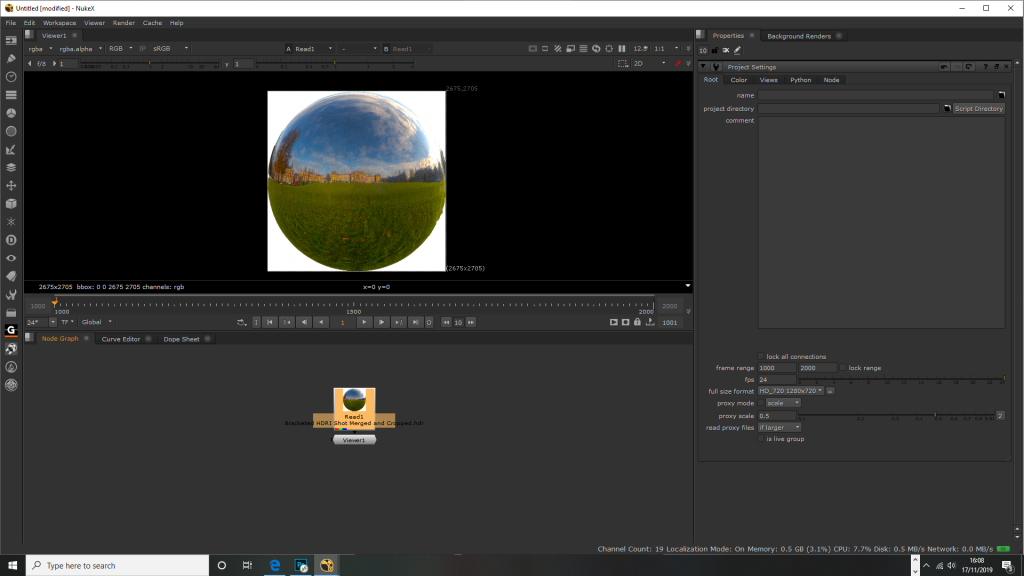
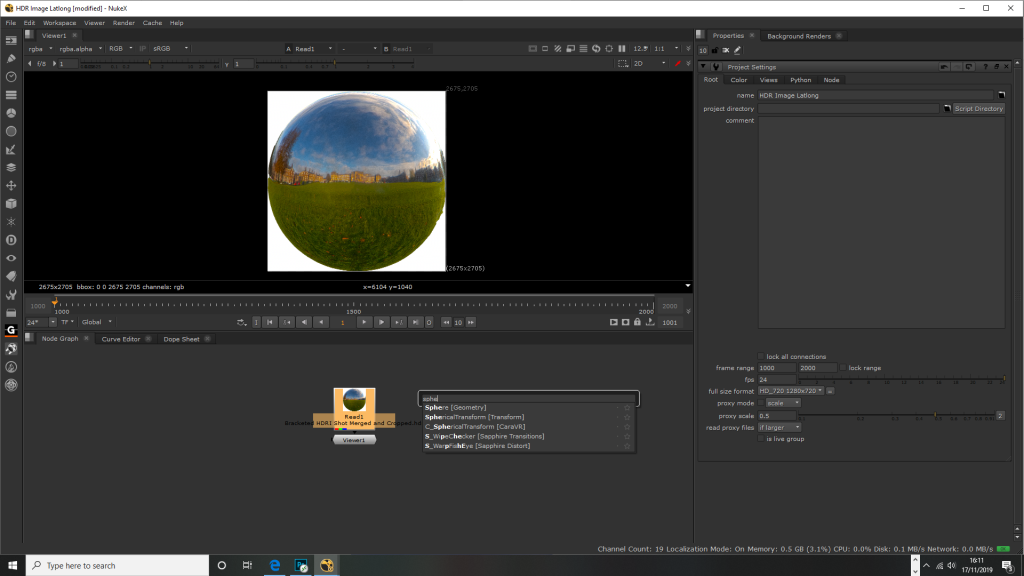

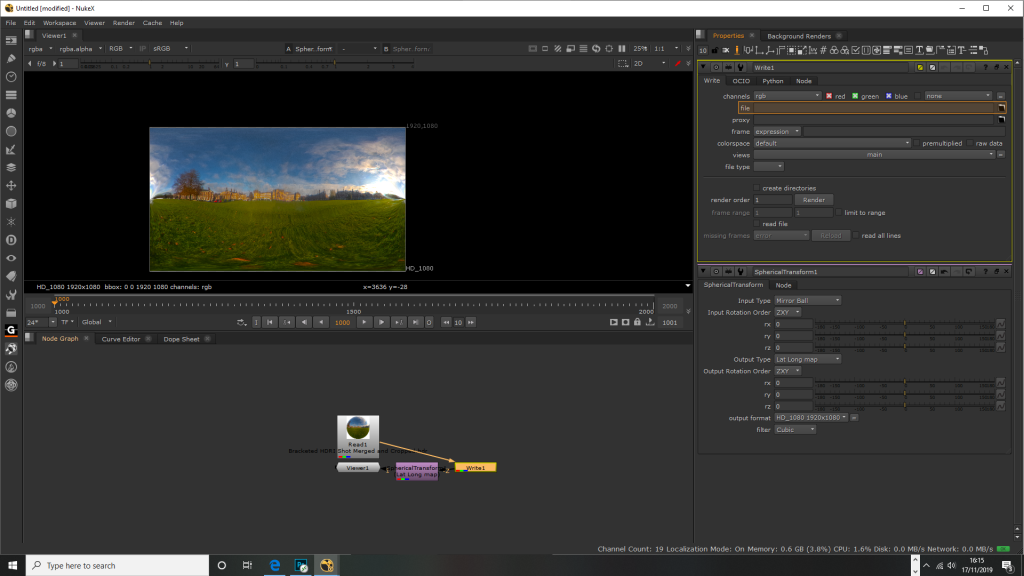
I exported the unwrapped image as a HDRI file.
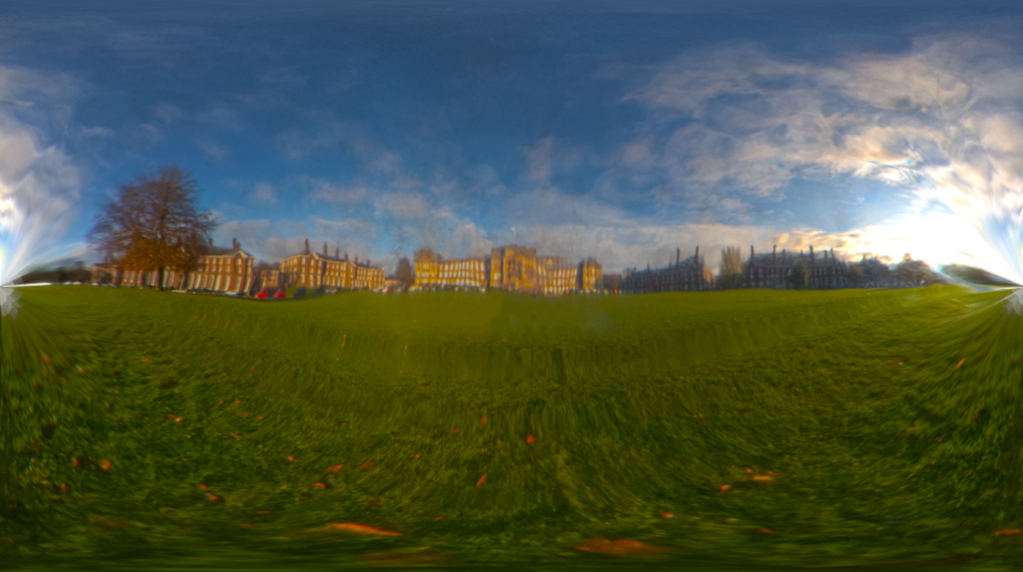
I also exported the unwrapped image as a LatLong (EXR format) – you can download this here – https://mega.nz/#!U55WQCIZ!0ftmiNBKdivILXiCj_SDnH78A9pne_7B78mivC2A2xQ
I was able to turn it into a 3D scene.
Task 8: Plate for Jet Formation Fly-Past –
For the final task I had to create a plate for a two CGI jets to fly over the Acre of Headingley Campus. I had to select a lens with anamorphic framing with the camera mounted on a tripod to keep the shot as stable as possible.
Light/Colour Reference:
The day was quite cloudy and was raining for 50% of the time; sunlight and showers were on and off.
Element Data Sheet:
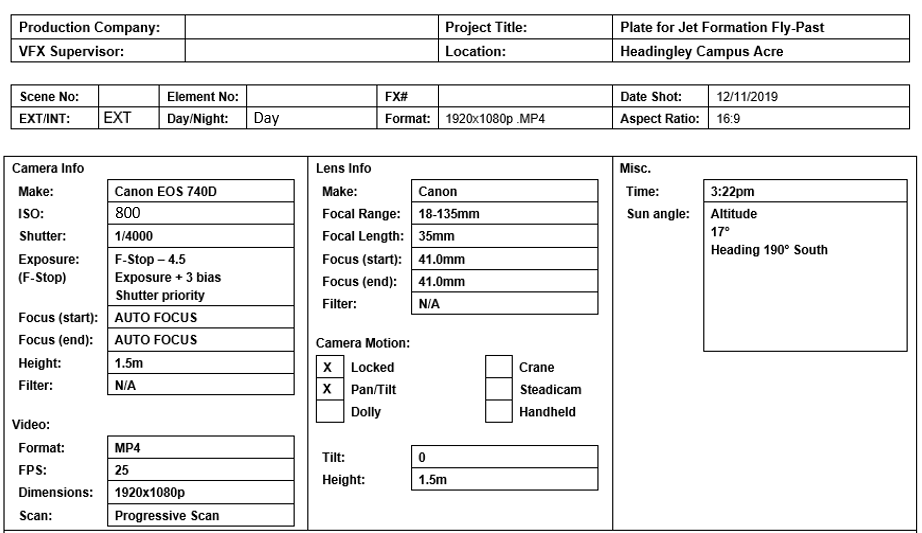
For the final task I set the F-Stop to 4.5. This allowed me to get a medium depth of field, this was my aim due to wanting to get the buildings to be clear in the picture. I knew that this will aid the CGI to find a distinction between the ground and the sky, and to allow some light in. I set the shutter speed to 1/4000 (the highest that I could set it to) to freeze extremely fast movement, as the camera pans quickly, I did not want blurring to occur, as it would’ve made it very difficult to CGI in the plane. Unfortunately, since the shutter speed was open for such a short period of time to prevent blurring, it meant that little light could enter the camera. To counteract this, I set the ISO to 800 to brighten the image, whilst not being too bright and creating noise. I kept the camera on the tripod to avoid shaking, it was locked for the first 4 seconds before panning/tilting from left to right in the direction of the plane.
Orthographic Set Survey: